Robot Arm Part 4: Controller Build
In the last robot arm post, I setup the electronics for the arm. In this post I will show the construction of the controller included with the 6 servo robotic arm kit I purchased. This controller has two joysticks that plug into an Arduino Uno, which will connect to the robot arm's Arduino via a 2.4 Ghz wireless module.
Pieces
Compared to the prior two builds, assembling the controller was the easiest part. It was mostly plug and play.
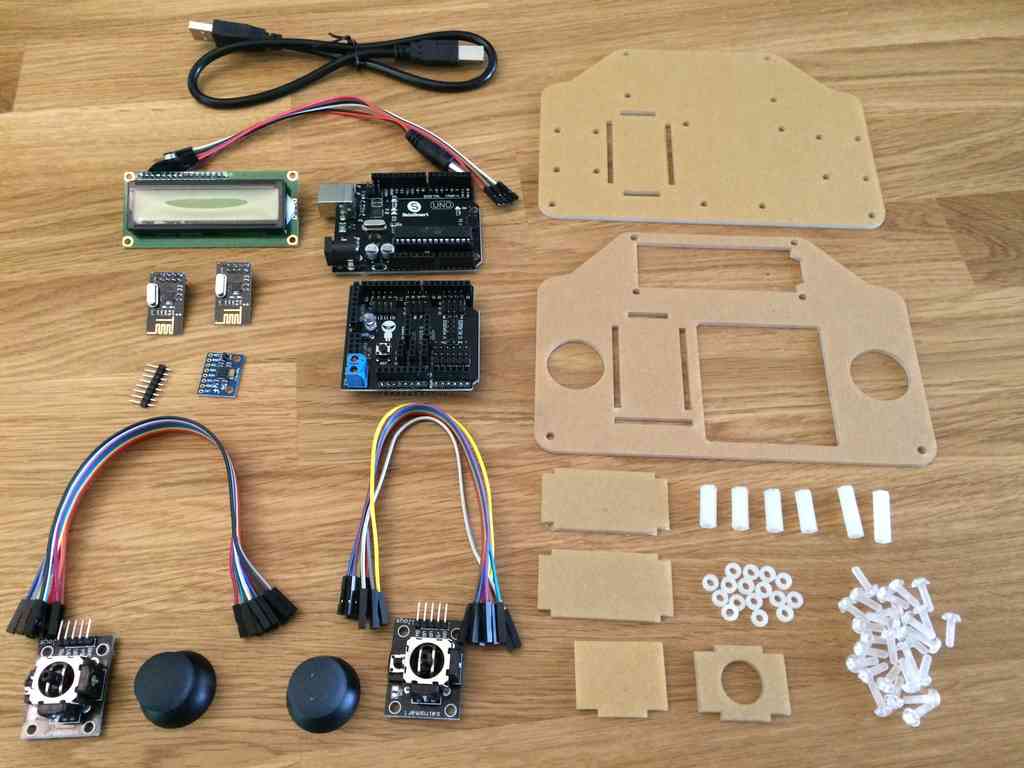
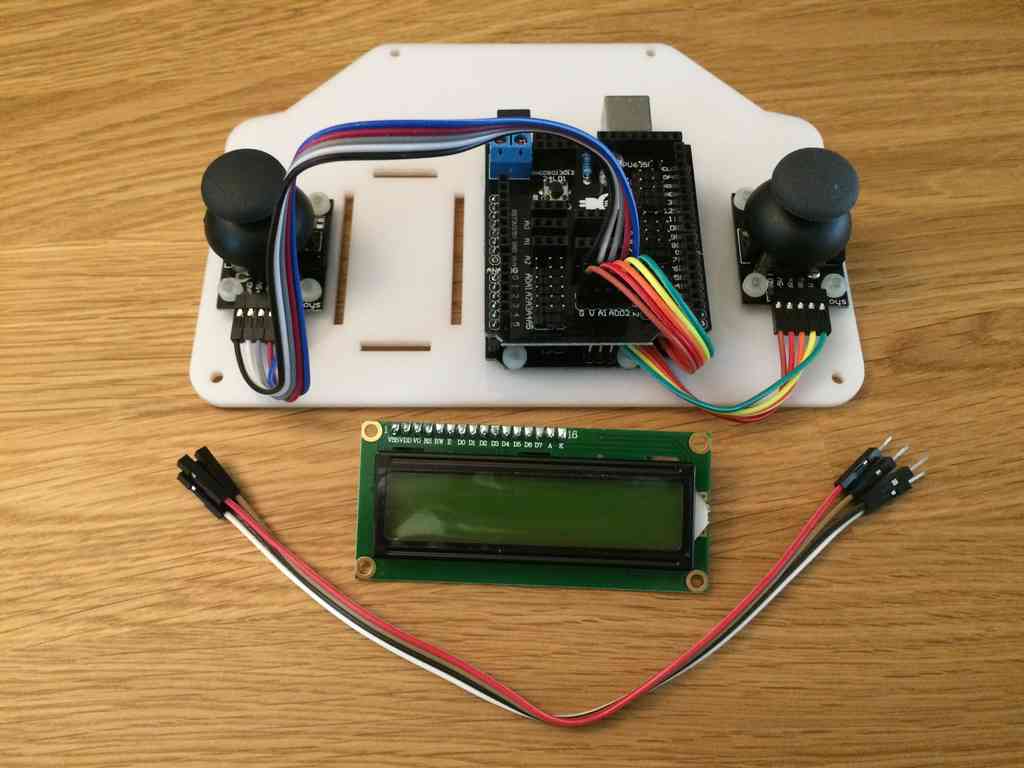
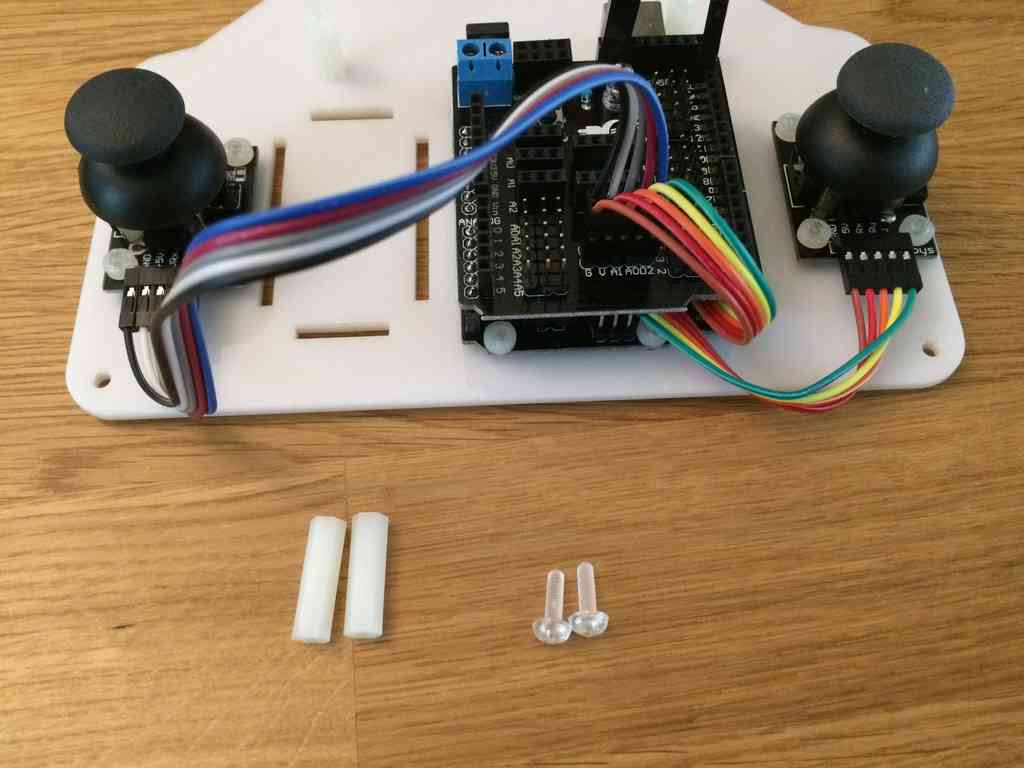
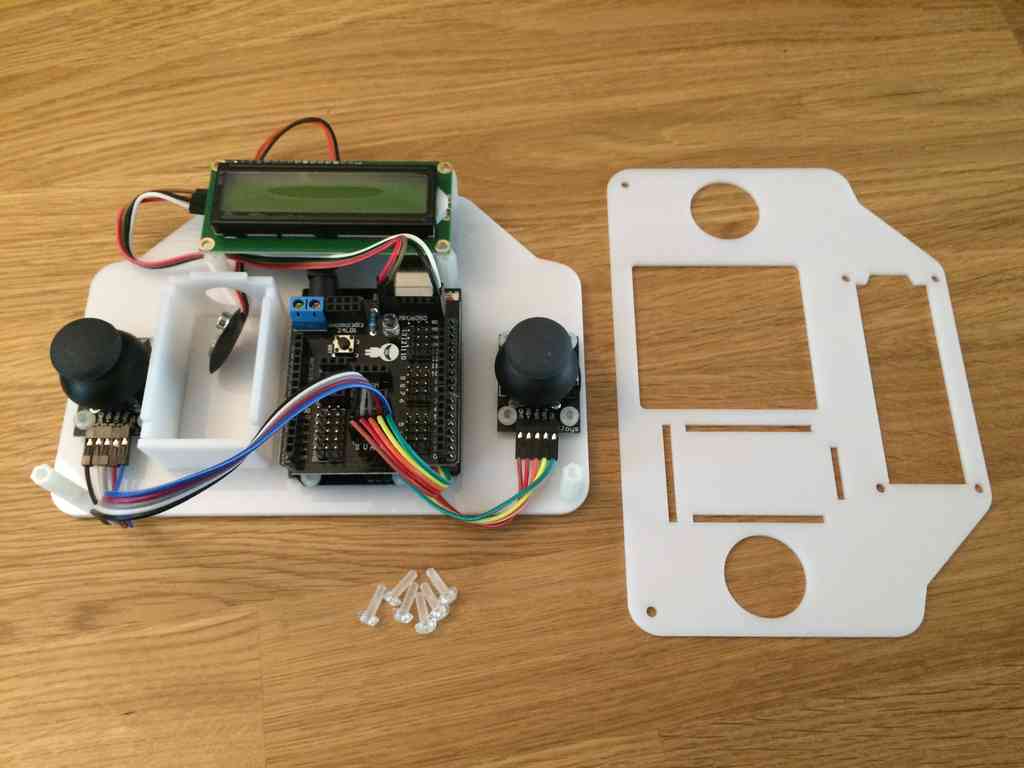
Here are all of the pieces that come with it:
Assembly
SainSmart only provides seven images that document the construction of the controller. For the most part, that is sufficient. However, some of the build ordering required some experimentation, which I'll indicated with the pictures I took.
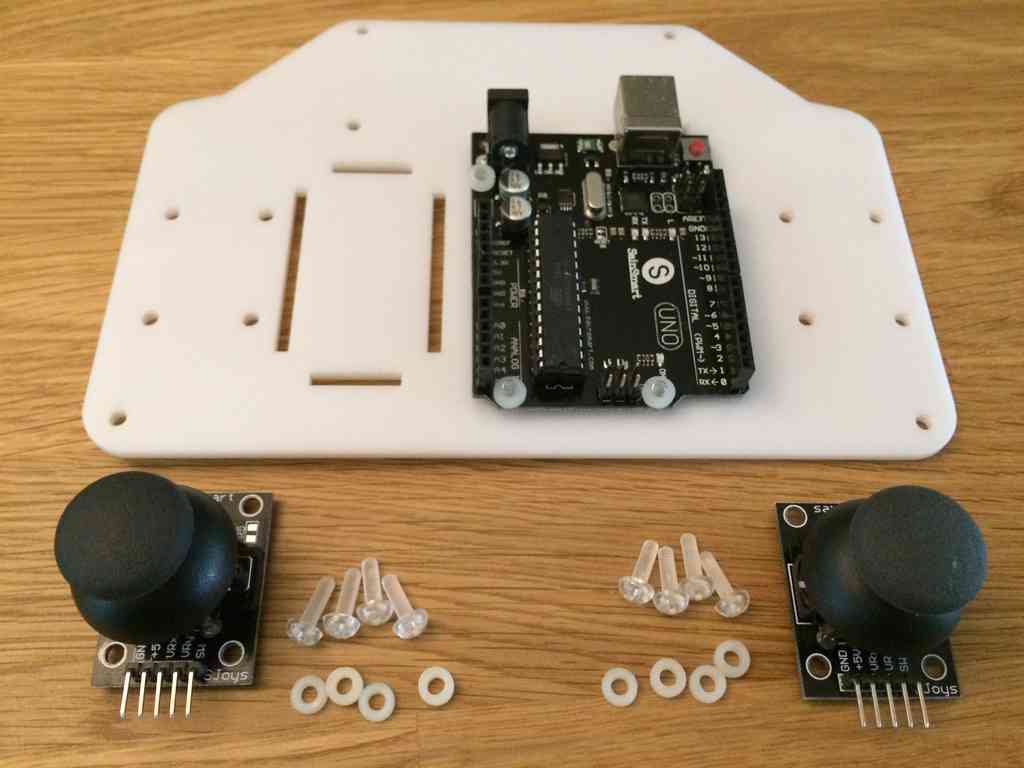
The first steps involve attaching the Arduino Uno and two joysticks onto the bottom acrylic sheet. The bottom acrylic sheet is identified by it not having an opening for the rectangular display at the top, which the top piece does.

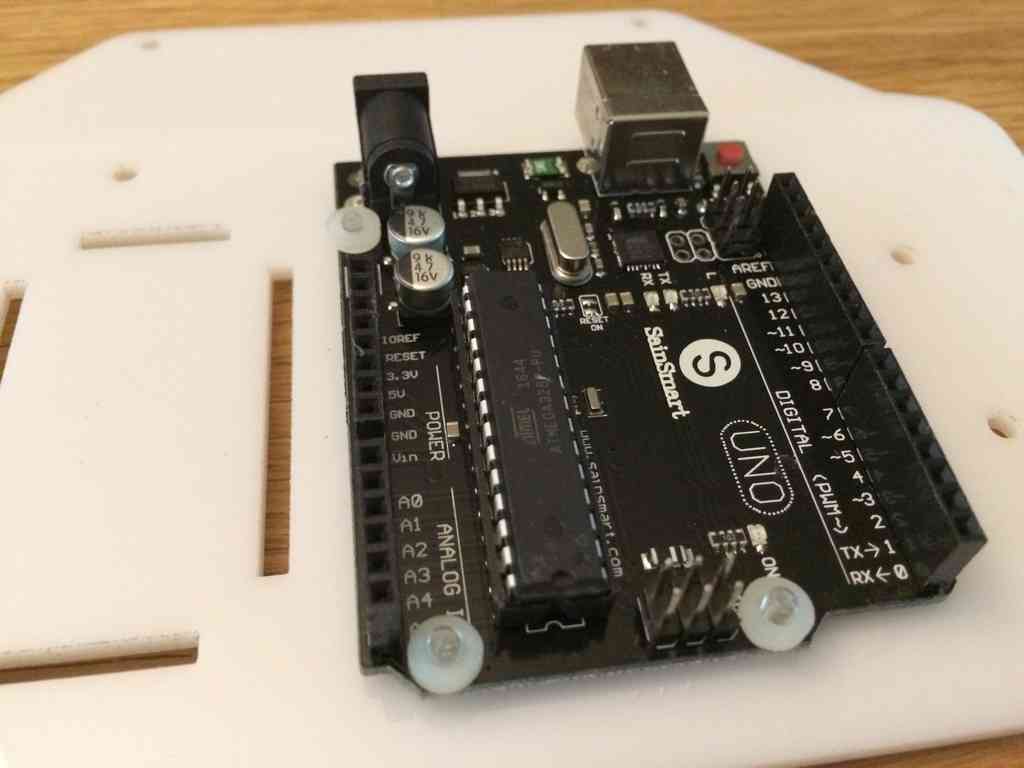
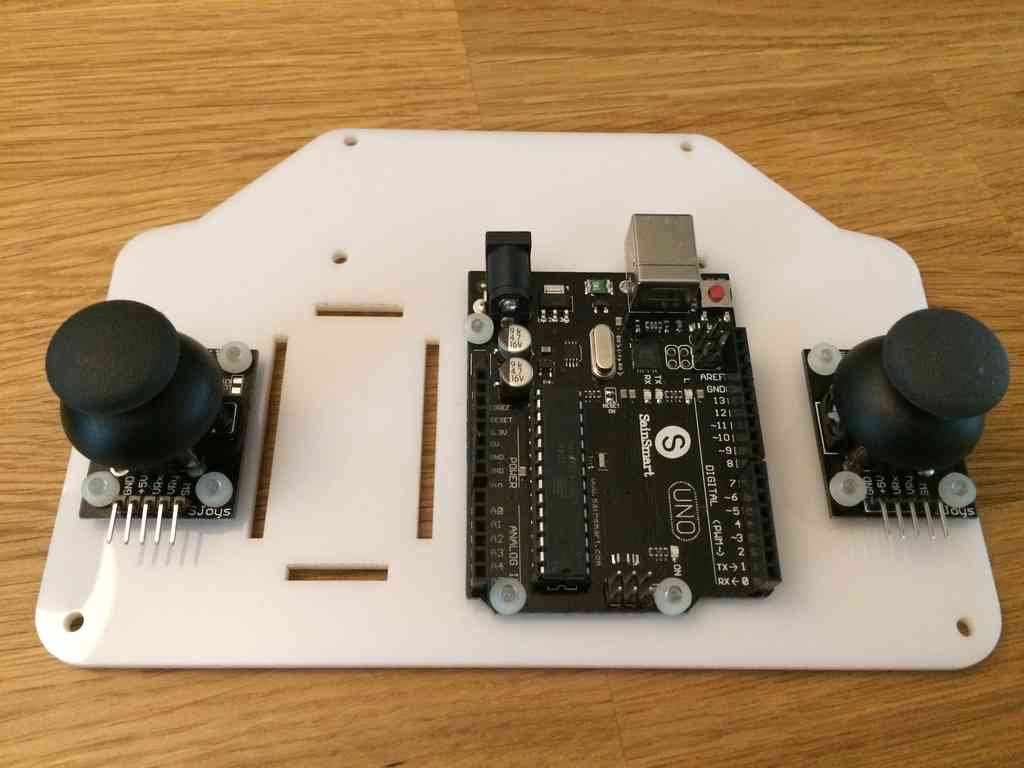
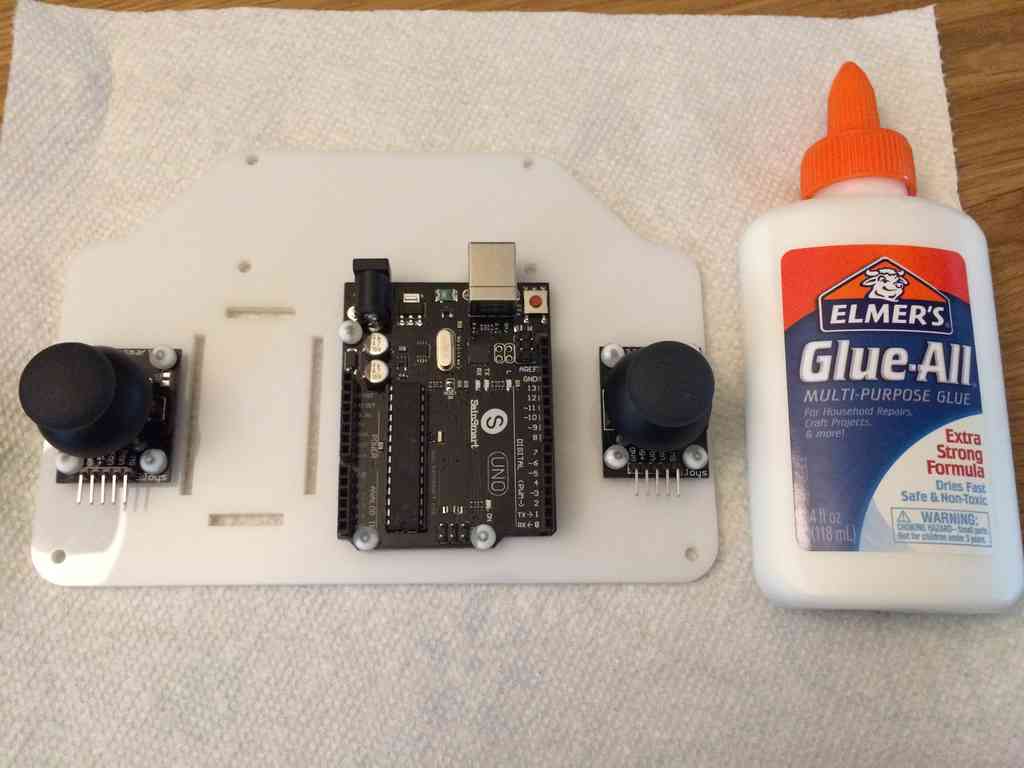
My controller kit included many plastic screws and washers, but no nuts. This is problematic when the Arduino and joysticks are supposed to be secured to the acrylic sheet, but washers can't secure anything. Since I didn't have any extra nuts, I used some standard Elmer's glue to secure the washers to the screws. This should be more than sufficient for these low stress components. I let the glue dry overnight to prevent any issues.
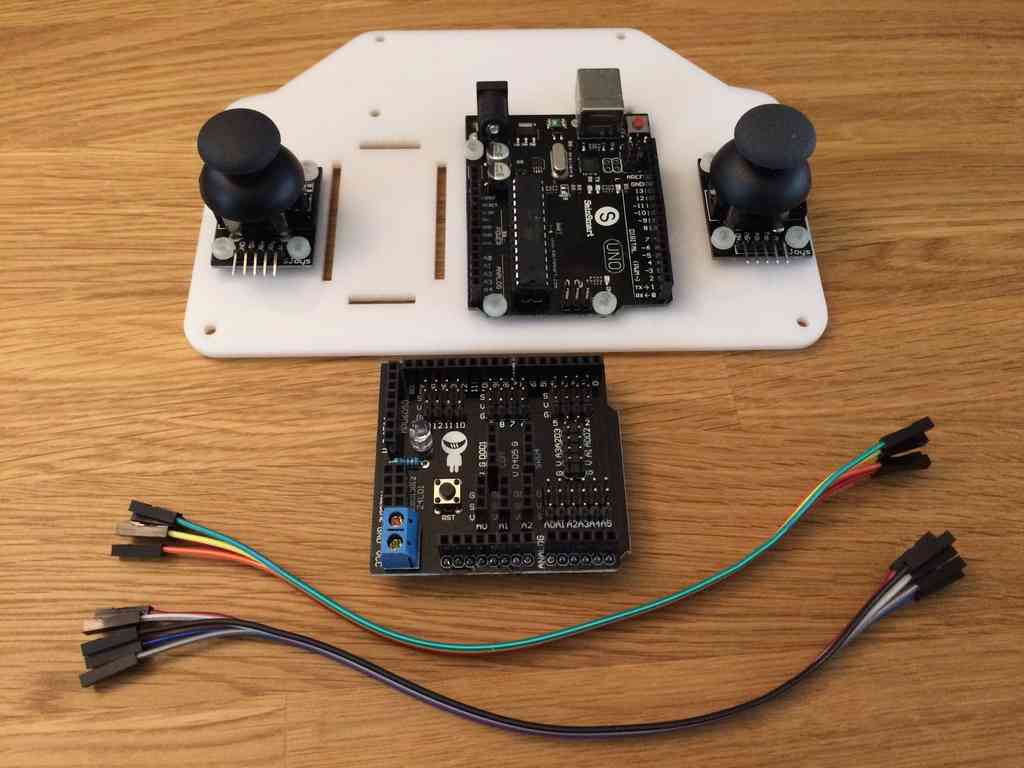
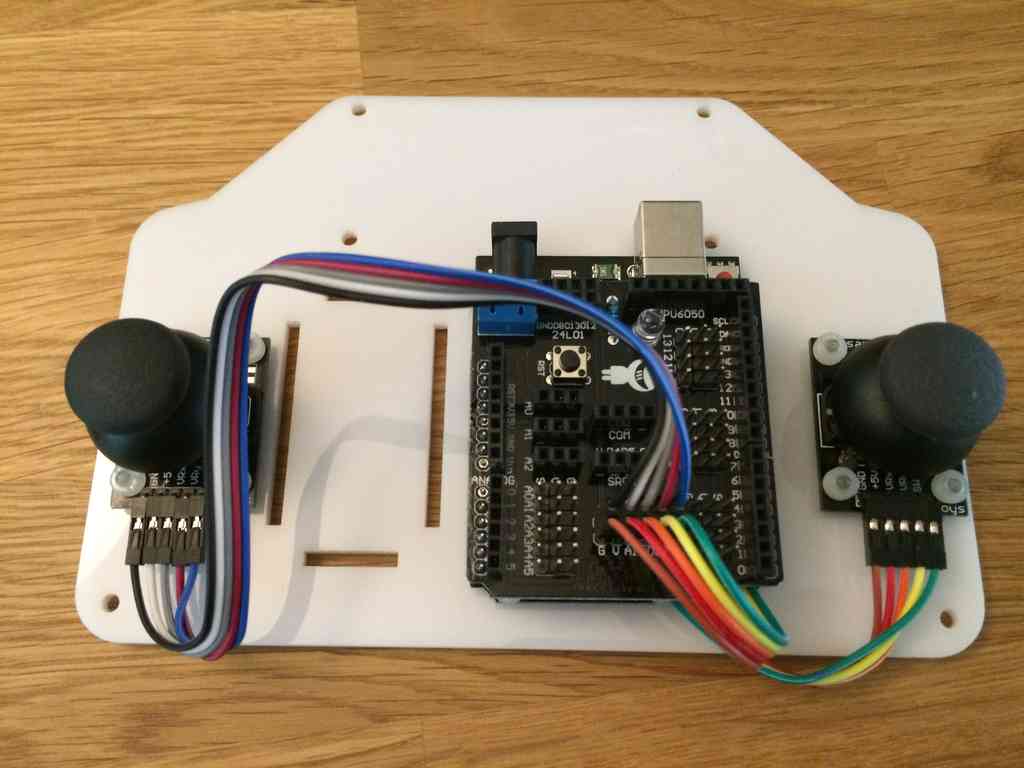
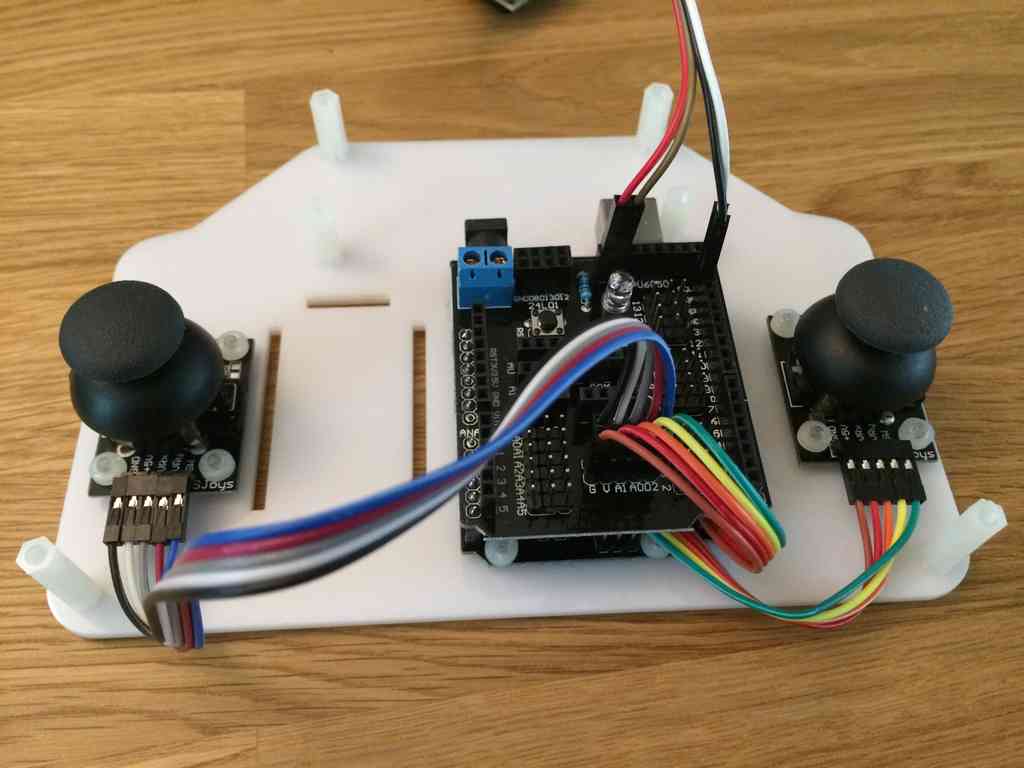
Next I installed the shield on top of the Arduino, along with connecting the joysticks to this shield. Make sure to plug the cables into the same pin type on the joysticks and shield. Each has the specific type notated next to the connector.
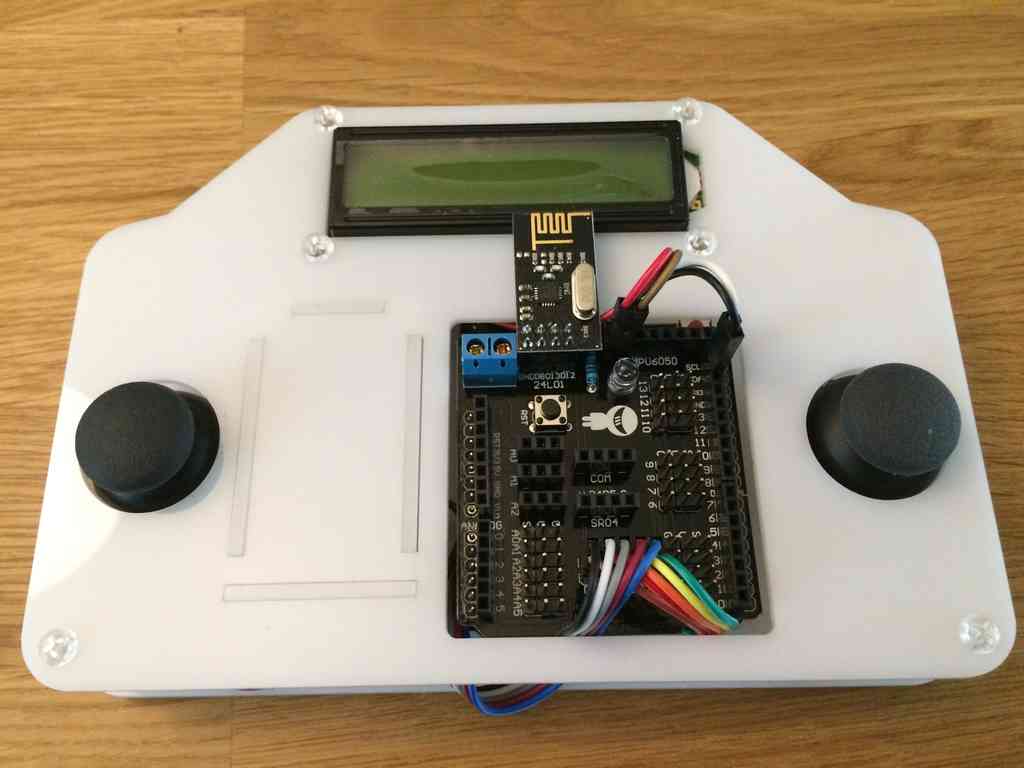
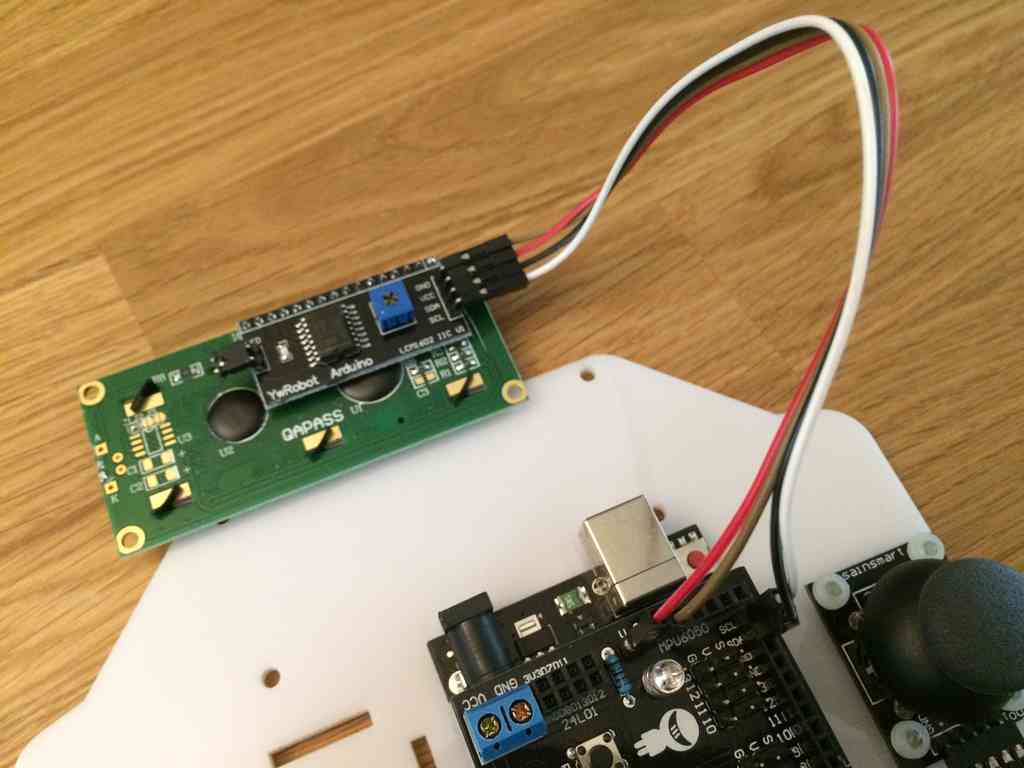
The display can now be connected to the shield. As with the joysticks, make sure you connect the cables to the correct pins for both the display and the shield. The cables should plug into the V, G, SCL, and SDA ports on the Arduino. SainSmart's image provides a close up view of this.
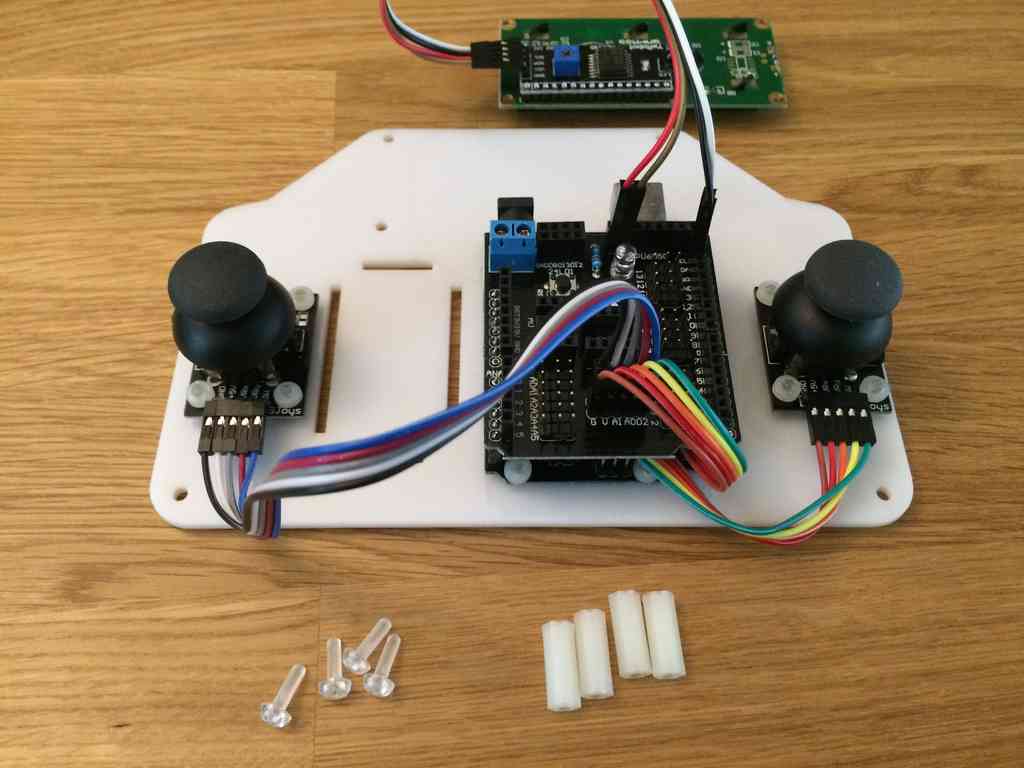
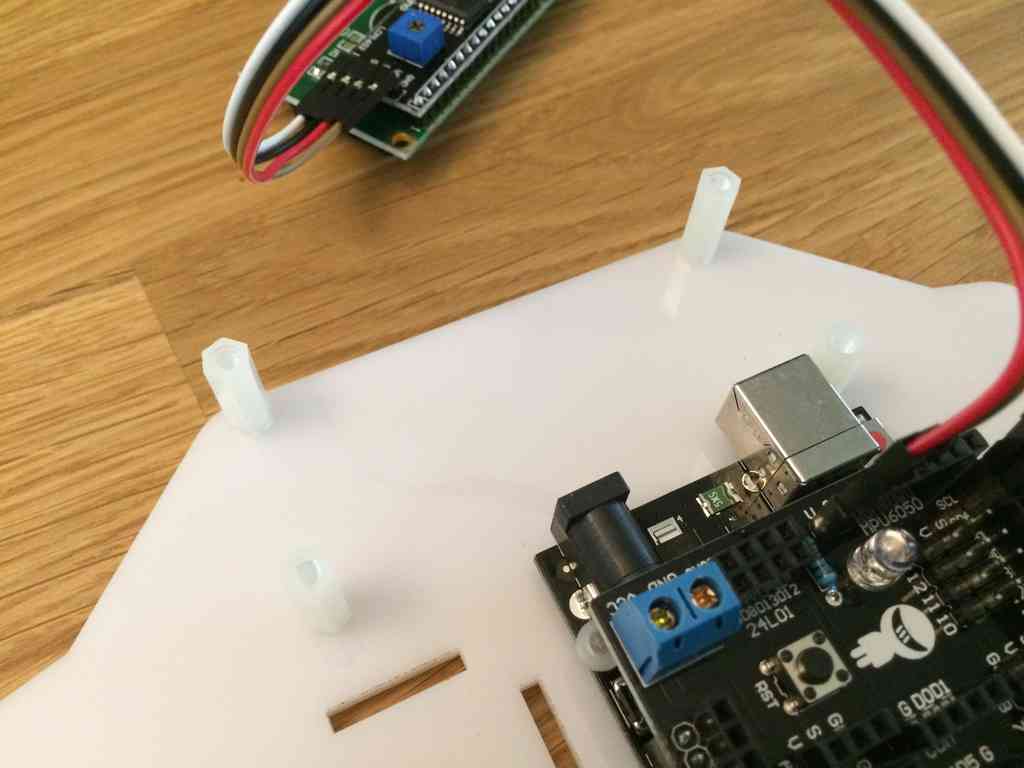
The plastic standoffs are installed next. Use the four shorter standoffs at the top of the controller, and the two longer standoffs in the bottom corners. The standoffs are threaded, thus the plastic screws can be screwed into them.
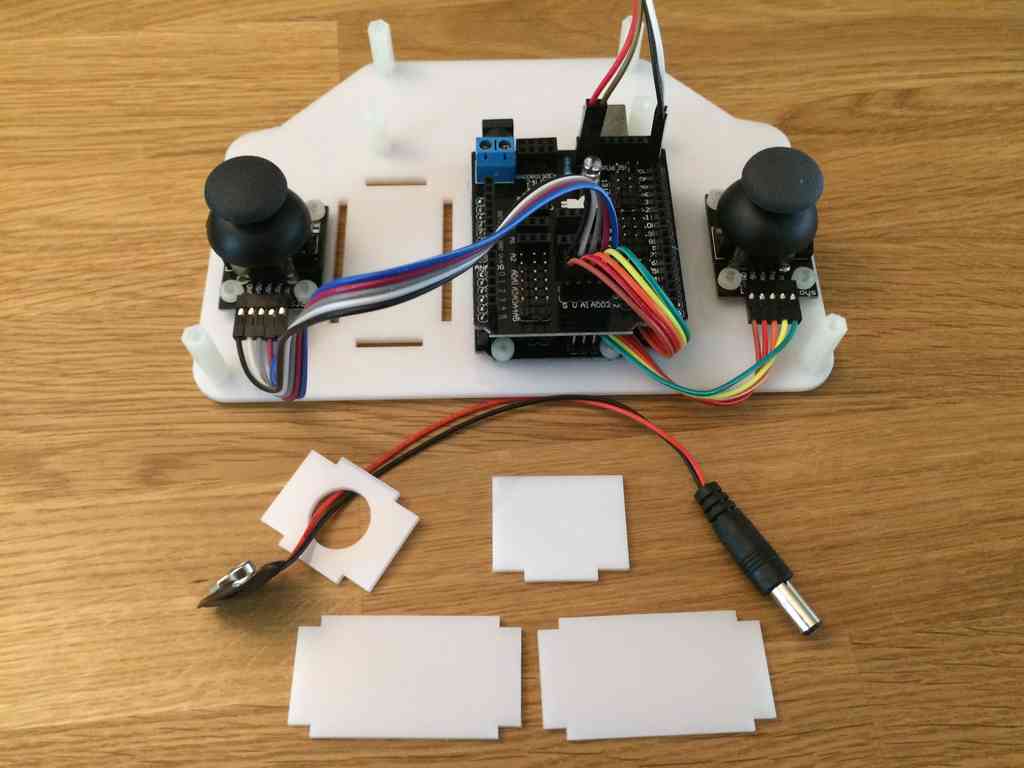
Now to create the battery compartment. Route the battery connector cable through the hole in the top plate. Make sure to install the battery in this stage. Otherwise, you won't be able to access the compartment when the top controller base is installed.
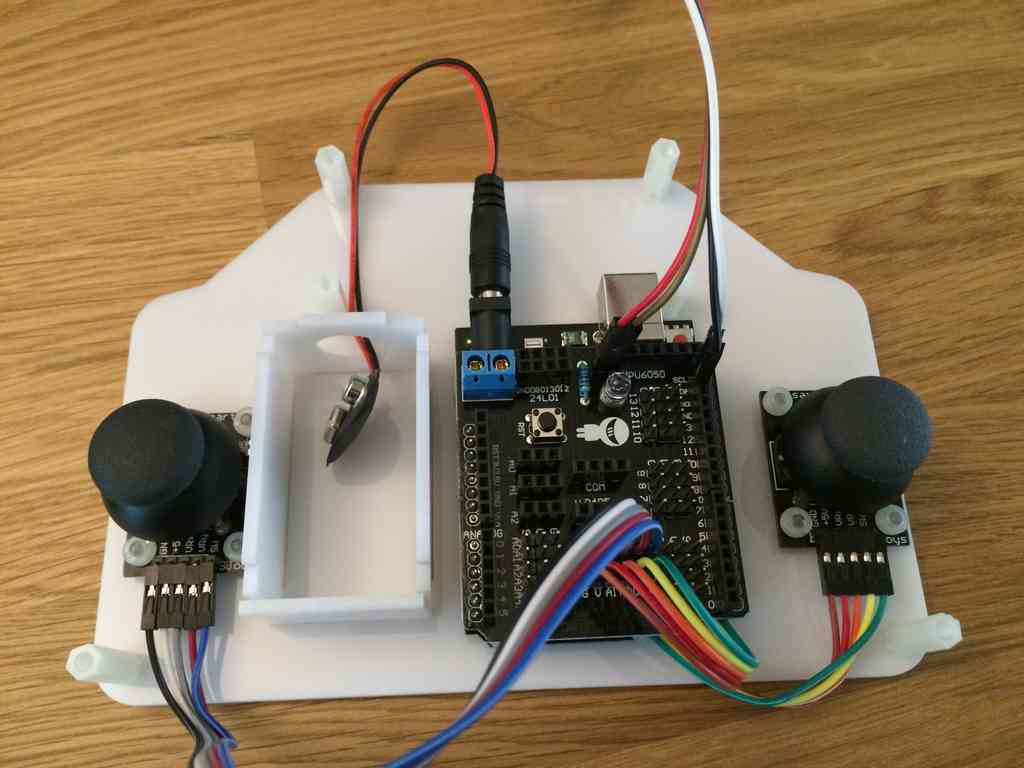
Move the display so the corner holes are aligned with the holes in the standoffs. Then align the top acrylic sheet above the controller so that all six holes align with the standoffs. Screw down the top sheet, making sure the display is being secured.
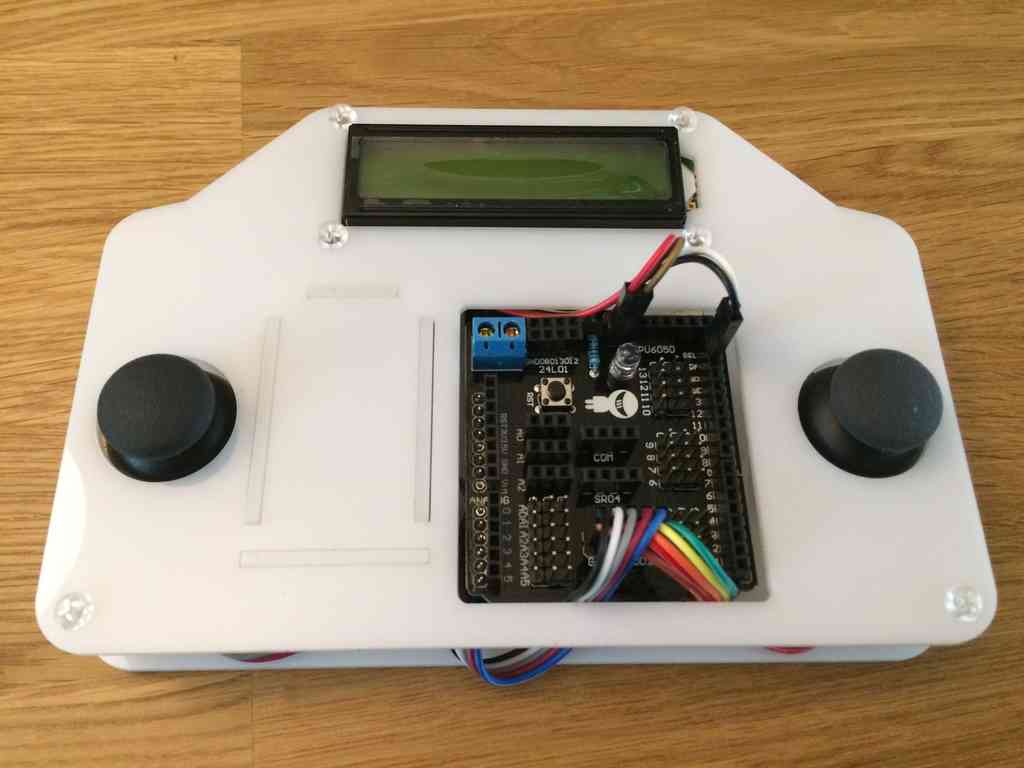
Finally, attach the 2.4 Ghz radio module to the pins at the top of the shield, next to the blue power connector.
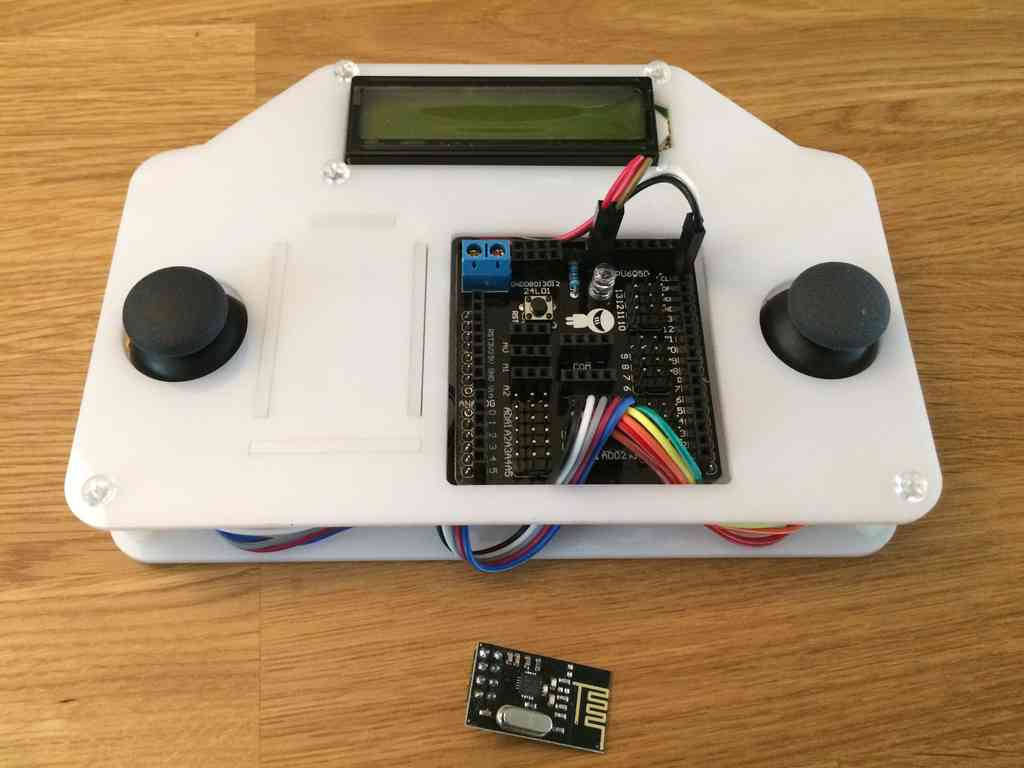
Finished Controller
The controller is now finished. Aside from the gluing, this should have been a simple build.
Now is the hard part of programming the Arduinos in the base and controller to talk to each other. That should be interesting! But first I document how to program the arm with basic code here.