Robot Arm Part 2: Rotatable Platform
To continue this robot arm series, I will now add a rotatable platform to the basic robot arm I build in the last post. In addition to providing a heavy base for the arm, the platform provides a secure place to mount the Arduino that controls the arm. The platform also gives the system a nice look.
Components
The rotatable platform is a separate purchase from the 6 servo robotic arm kit that I built in the last post. I think it's kind of evil to show the platform in the main image of the kit's sales page, but at least it's not that expensive.
This platform will work with some of the other SainSmart robotic arms, such as their 3, 5 or 6 servo arms kits.
Pieces
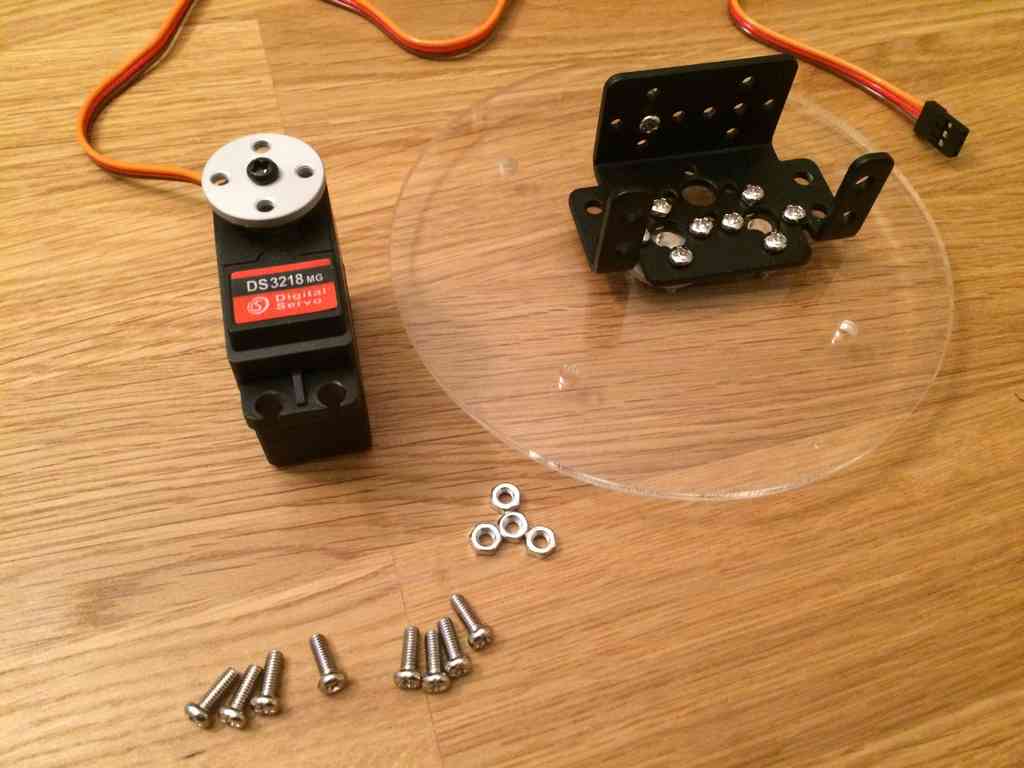
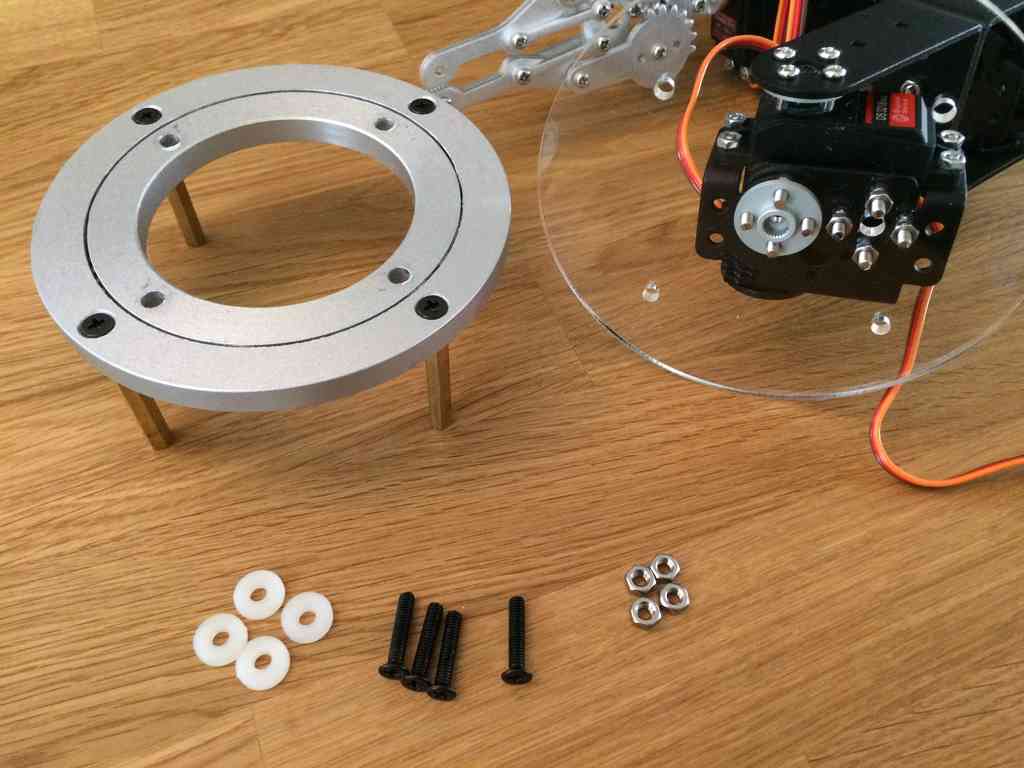
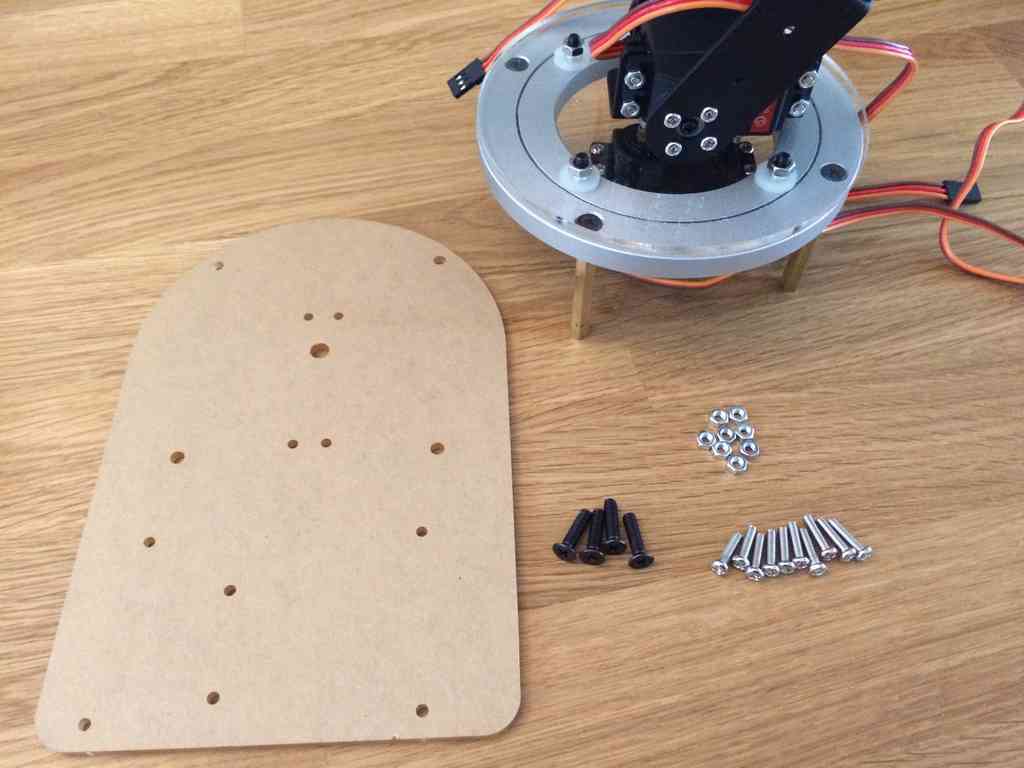
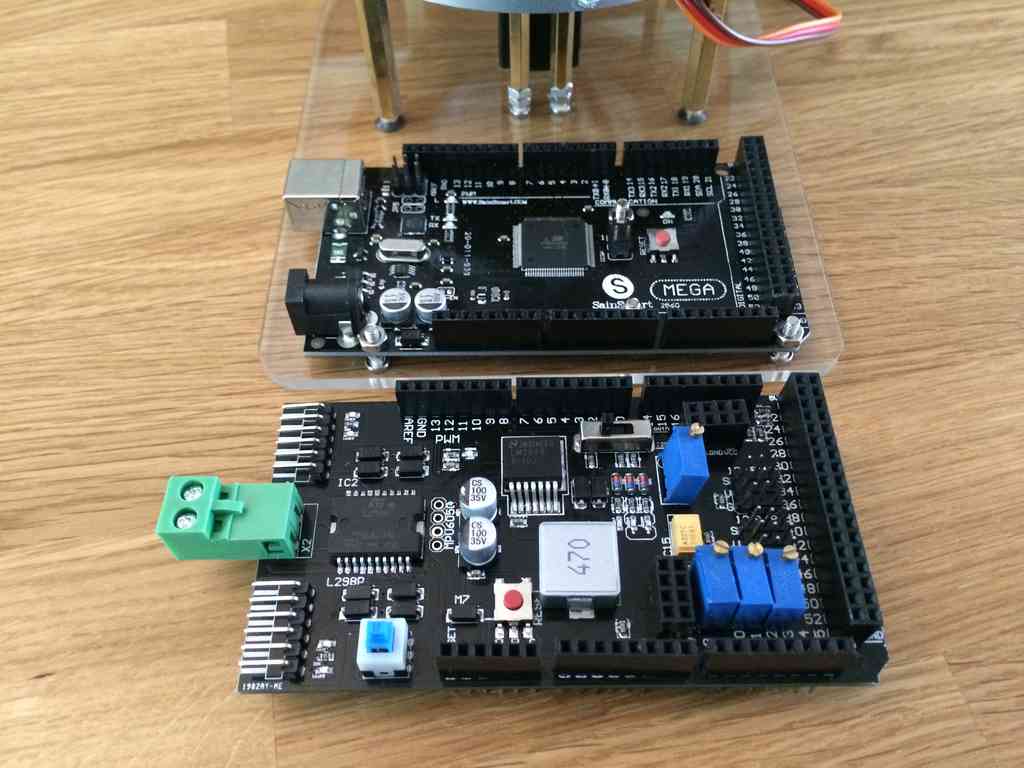
Here are all of the pieces that came with the rotatable base, plus the basic arm I built in the last post:
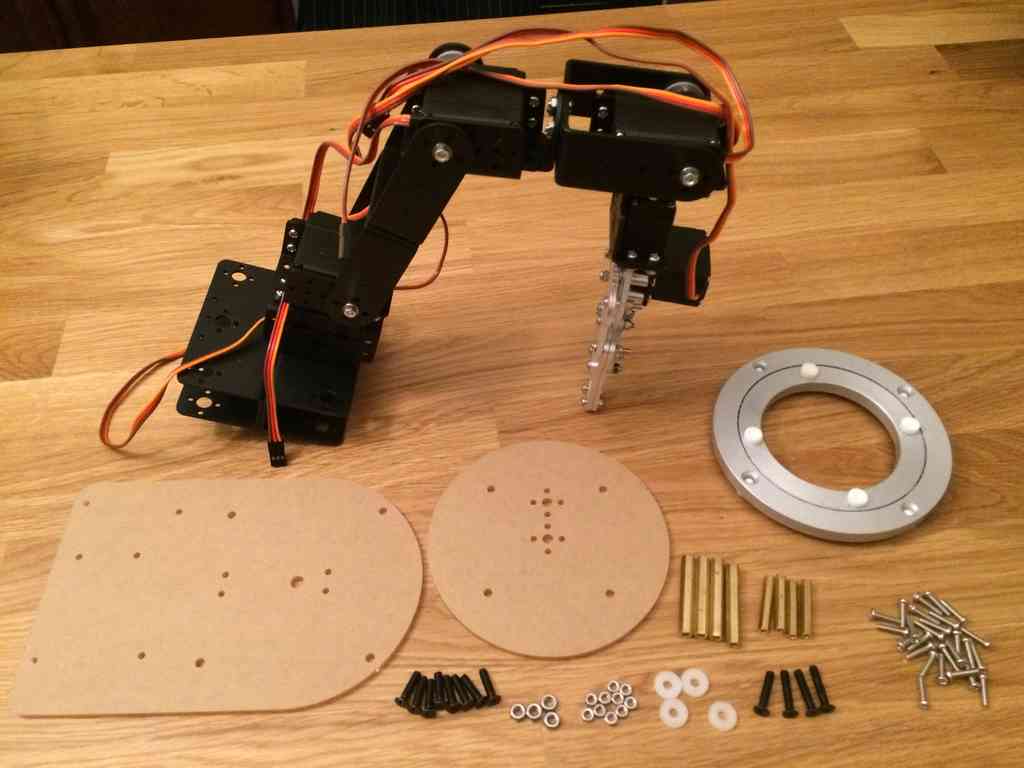
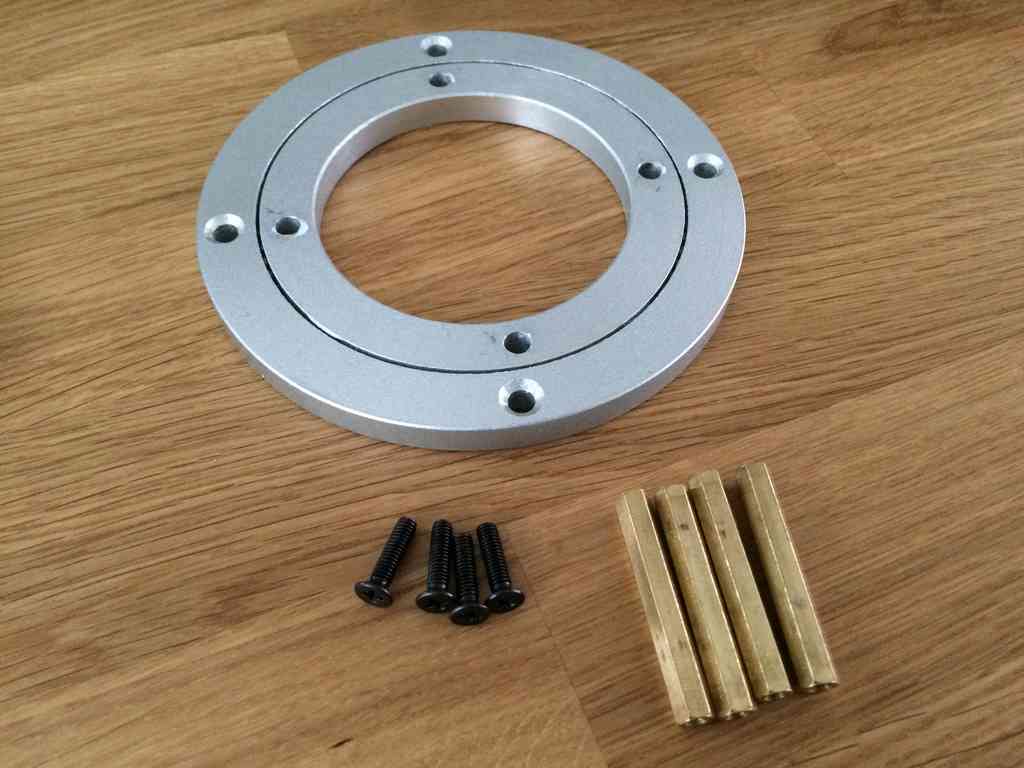
This kit is pretty basic, with two pieces of acrylic, a solid rotation bearing assembly, brass standoffs, and multiple screws, nuts and washers.
Assembly
The only instructions SainSmart provides is in the YouTube video they use to show the arm construction. As with the arm build, the video is decent, but there are a few issues with build order and part selection.
These are the pictures I took while integrating the base with my arm.
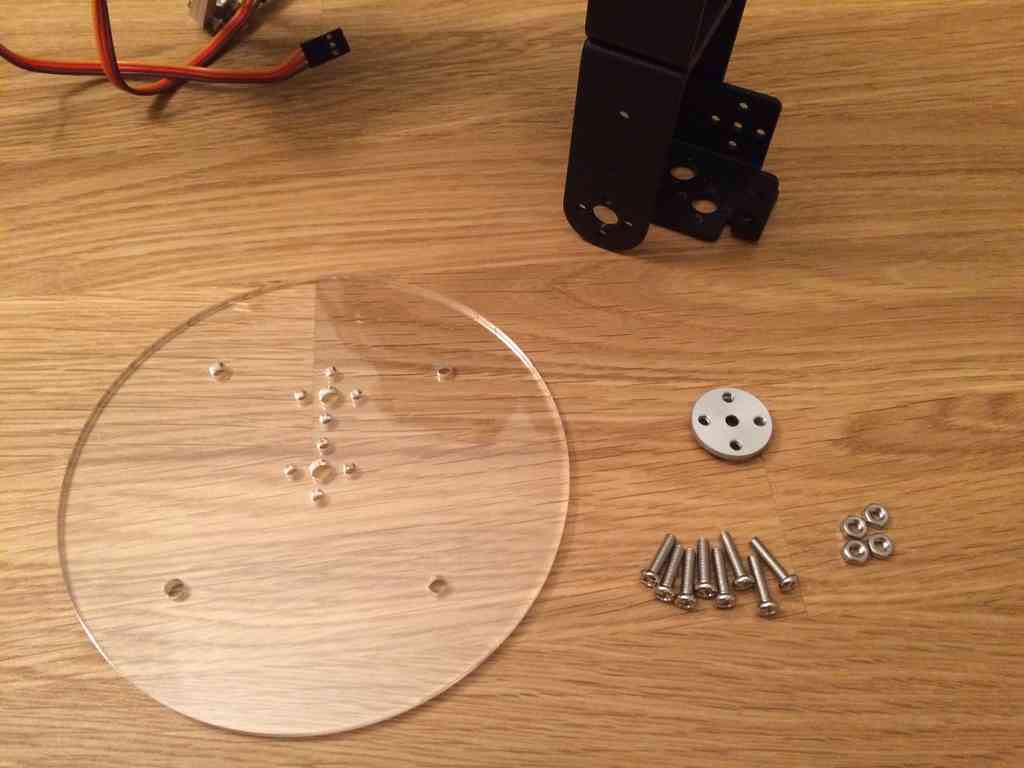
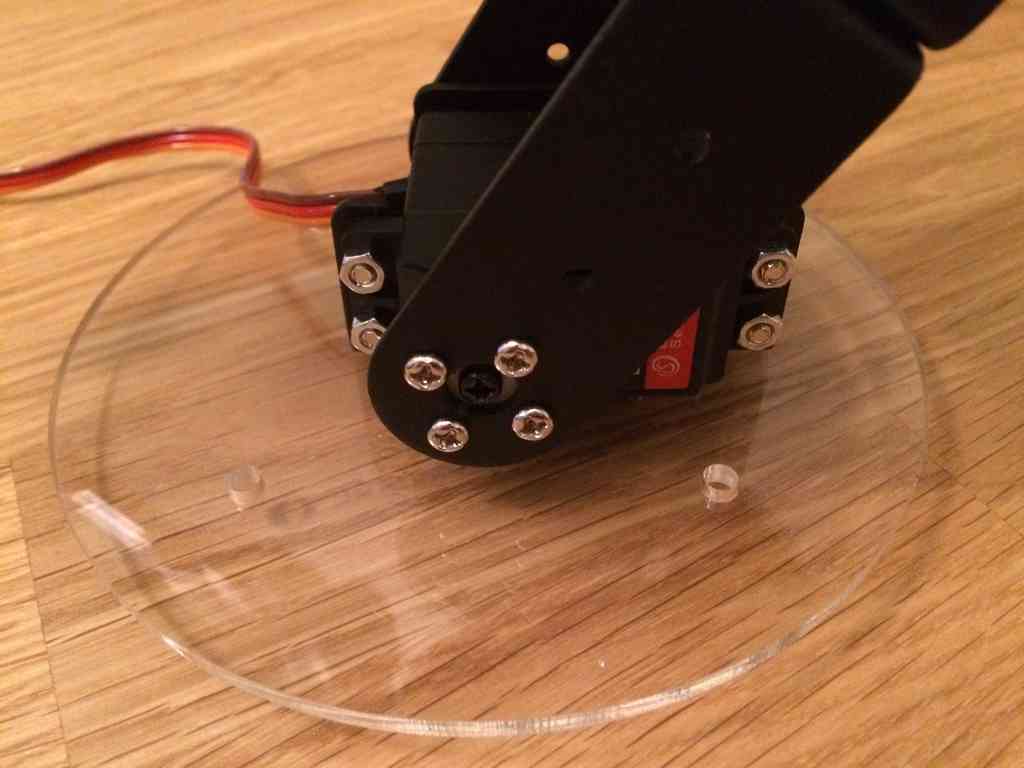
The first step actually requires disassembling the bottom two joints of the arm I just built. Basically, the bottom two servos need to be removed. Once removed, the second servo's bracket can be installed to the top acrylic base with the servo horn in the middle.
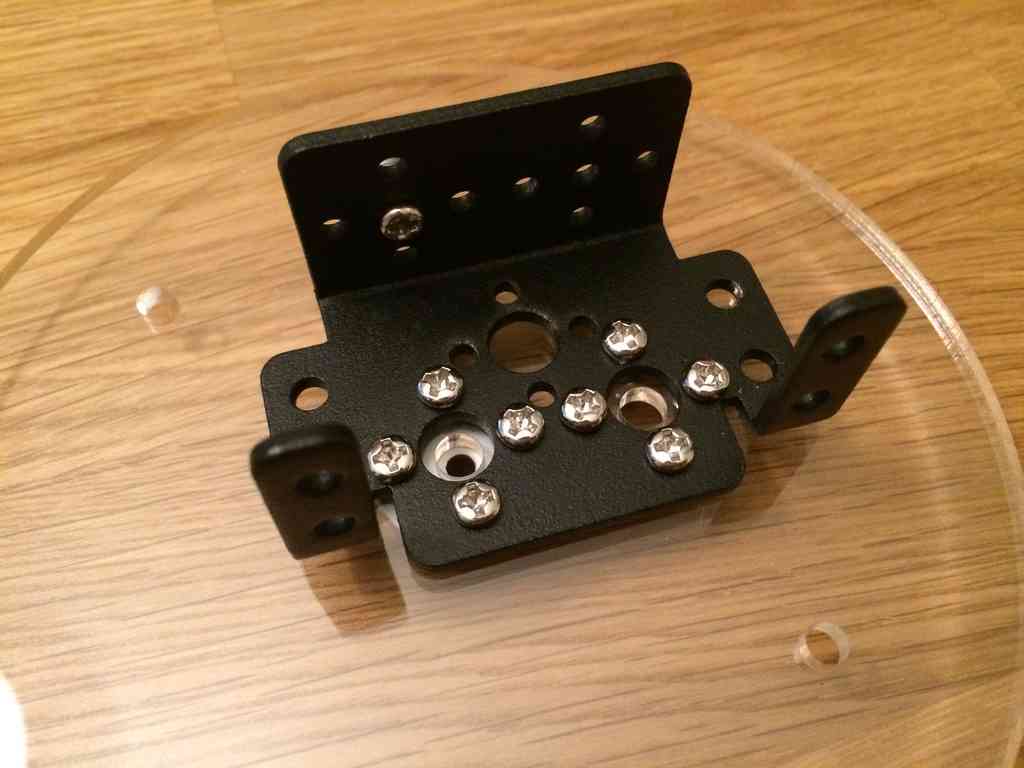
With the base bracket secured to the top acrylic piece, it's time to integrate the arm in.
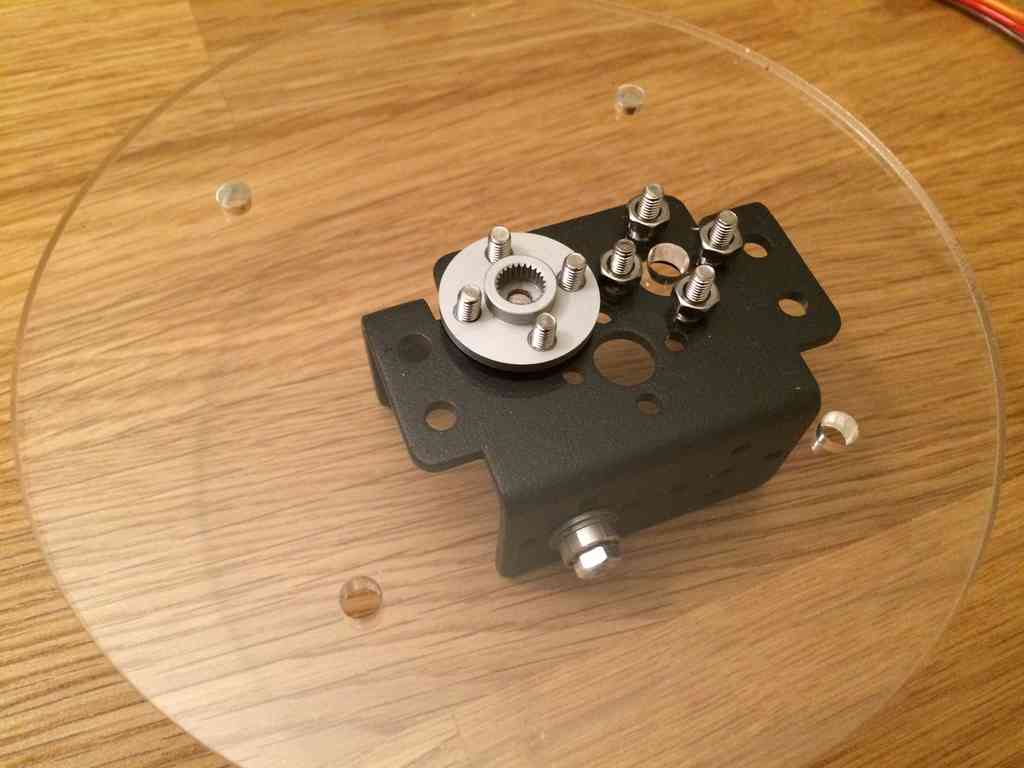
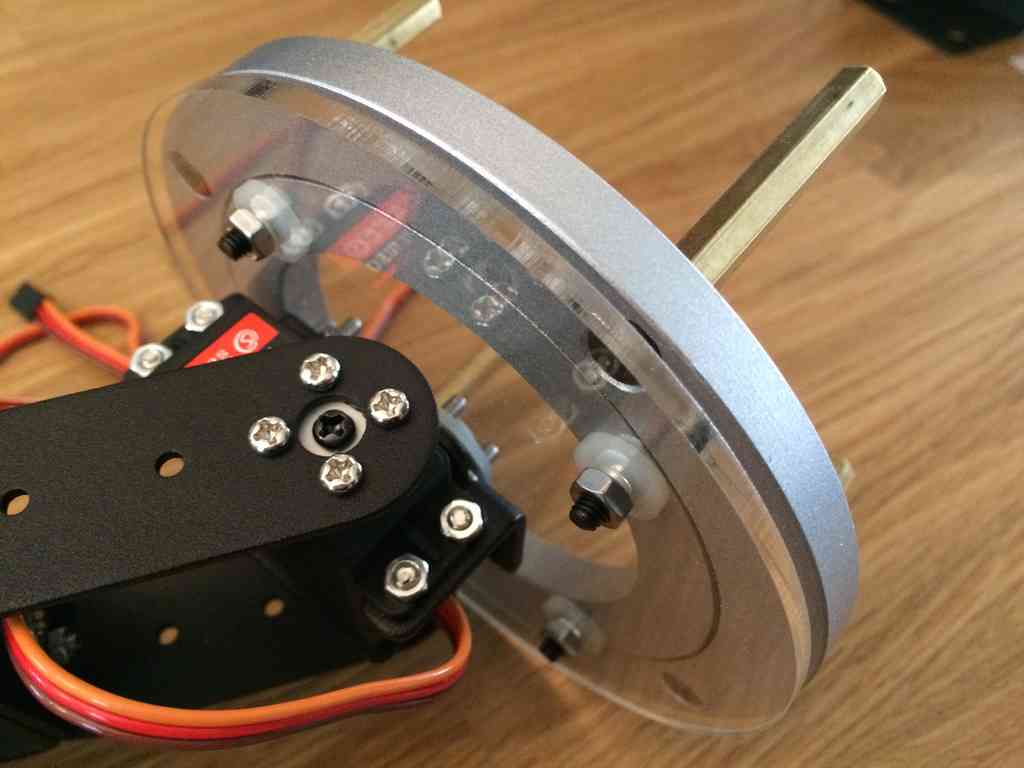
Now to add the metal bearing ring to the acrylic platform. It is important to add the brass standoffs to the ring before attaching the ring to the acrylic platform since you can't reach the screws otherwise (the YouTube video doesn't show it this way).
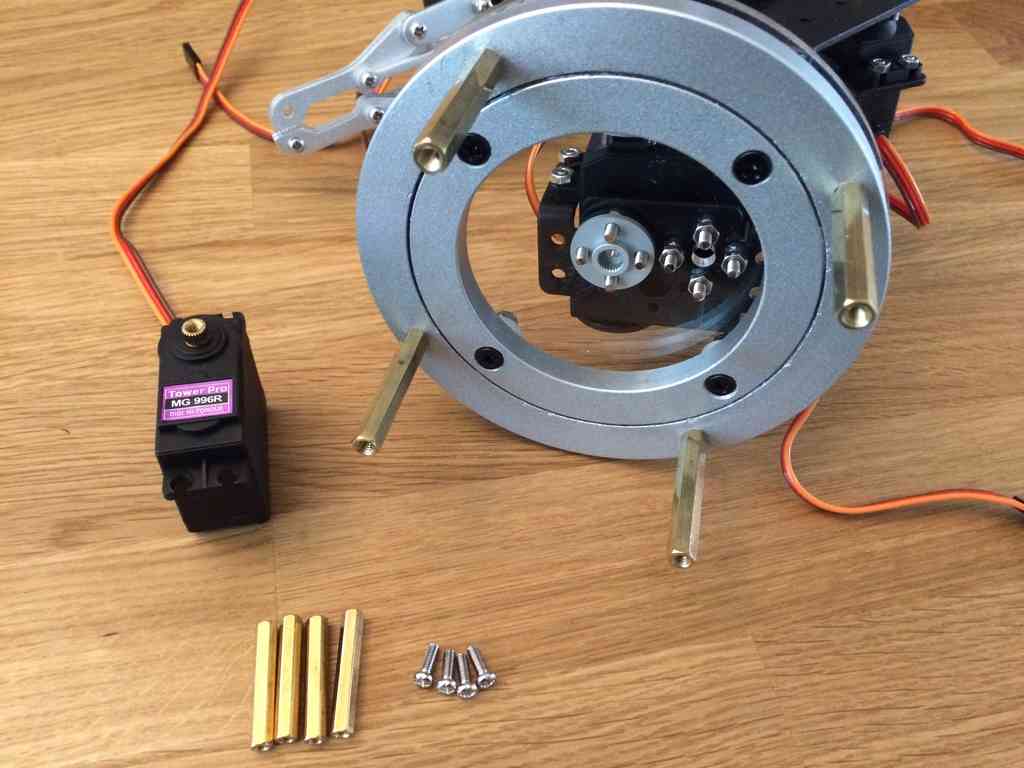
With the metal ring secured to the arm, the waist rotation servo can be added. The servo only slots into the servo horn that's already attached to the top acrylic base. It doesn't screw in to anything. The shorter brass standoff secure the servo to the bottom acrylic base.
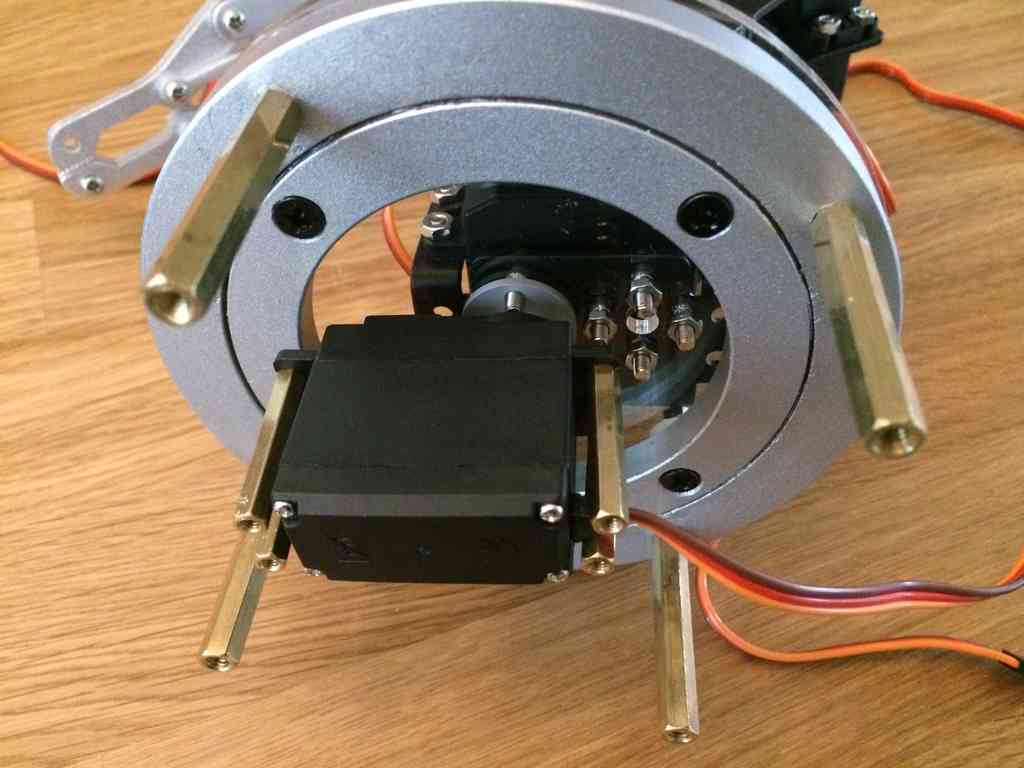
With the rotation servo hanging from the servo horn, installing the bottom acrylic base required some finesse. In my kit, the servo's brass standoff were too short to reach the bottom acrylic base while still secured in the servo horn above. To solve this, I used two extra nuts per standoff. The screws were long enough to reach the standoffs, but I should have used washers instead.
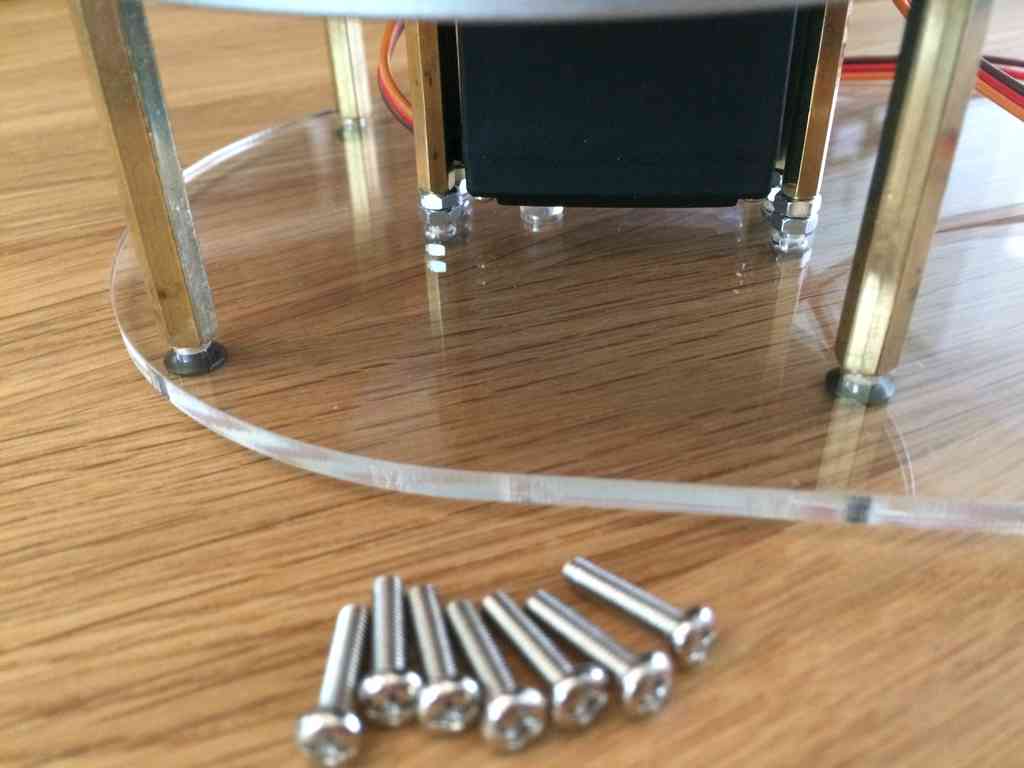
Note that I did not use these seven screws during this step. Six of them are used to install the Arduino in the next step.
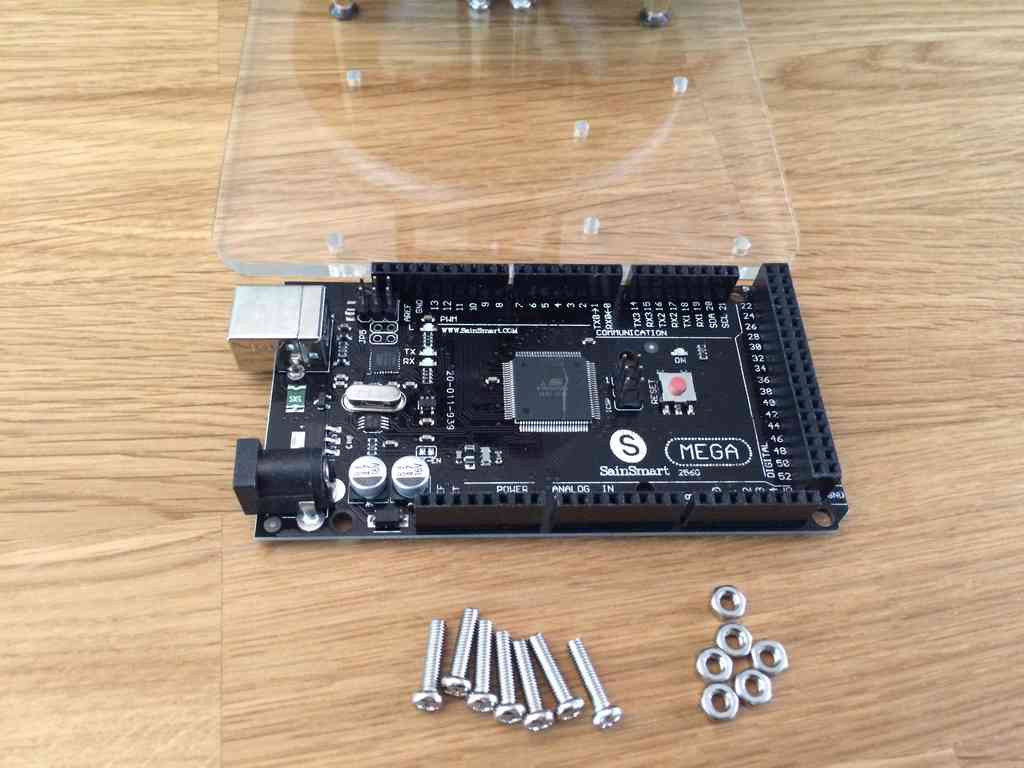
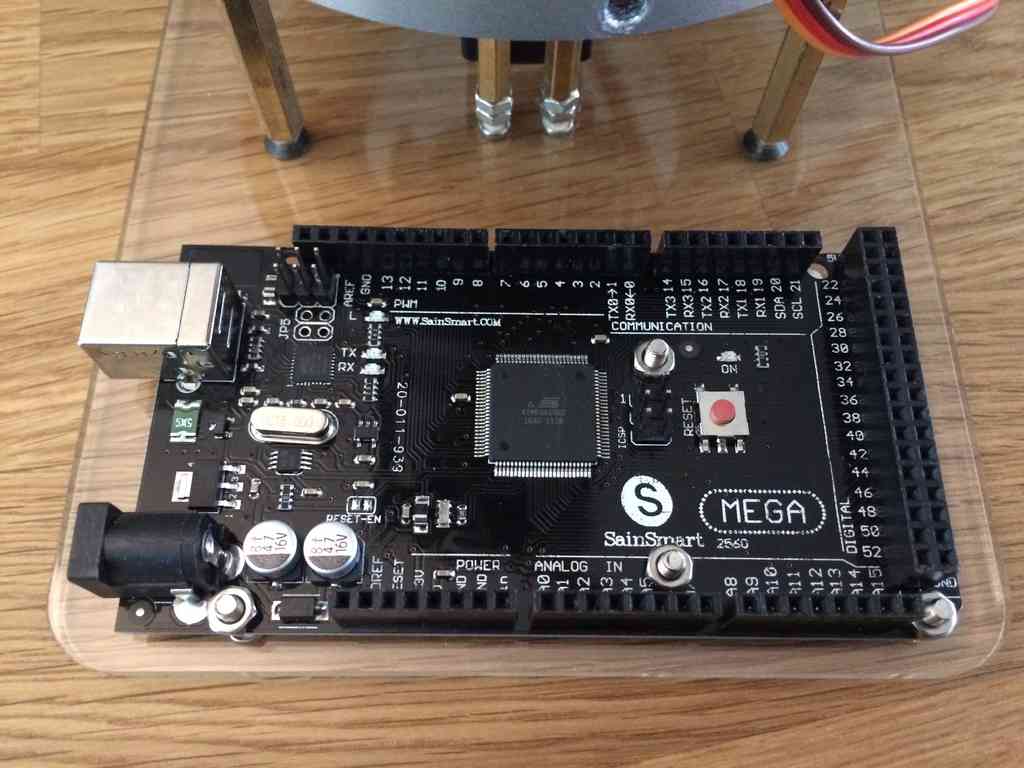
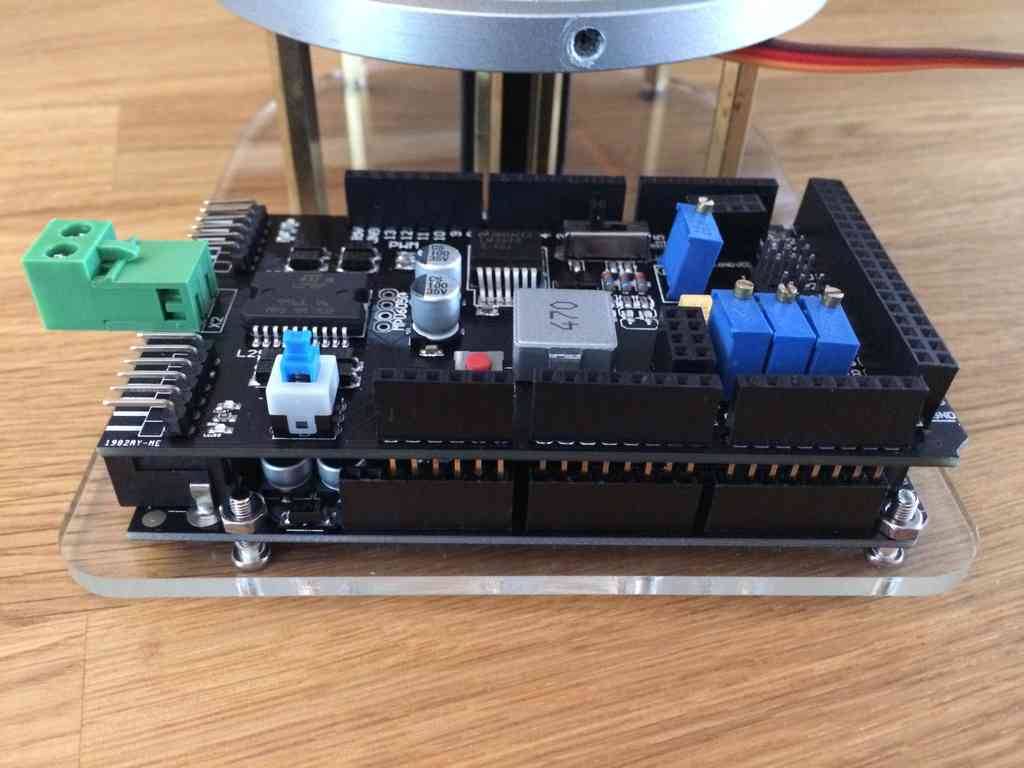
Now the Arduino can be secured to the base. Even though there are six holes to secure the board down with, two of the holes on the Arduino don't have enough room for a nut. But securing the board with four screws is more than enough to hold it down.
The servo shield can now be attached on top of the Arduino. This is a delicate process because you need to ensure that all of the pins from the shield go into the correct slot on the Arduino. The last thing you want is to bend one of the pins!
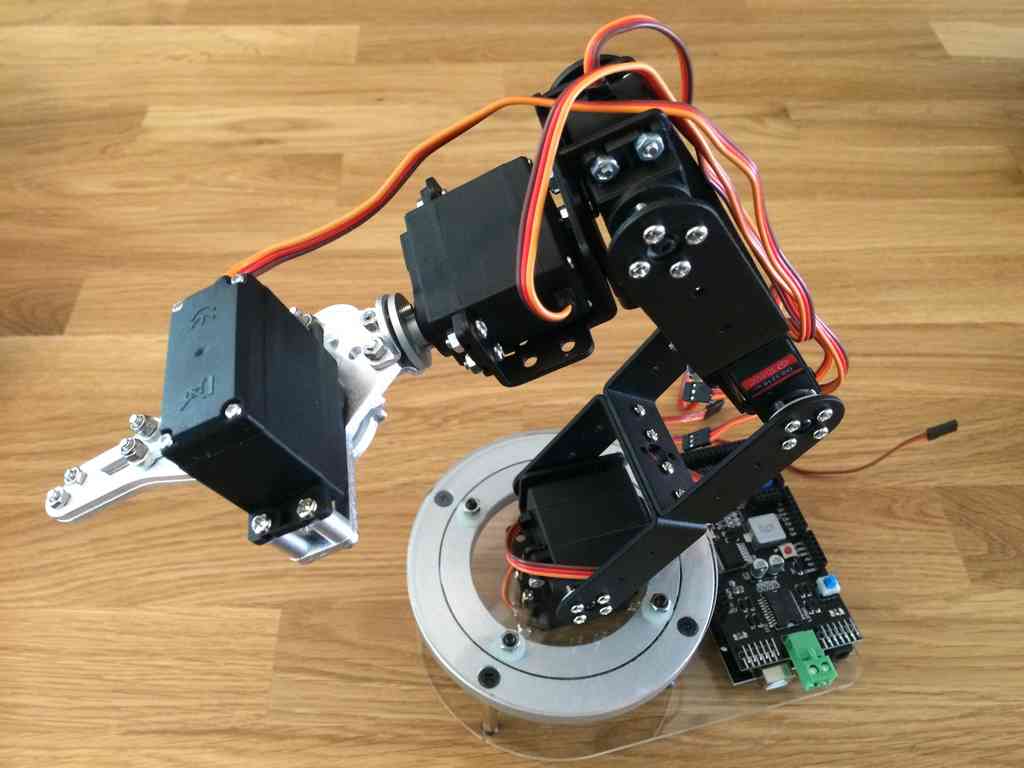
Complete Base
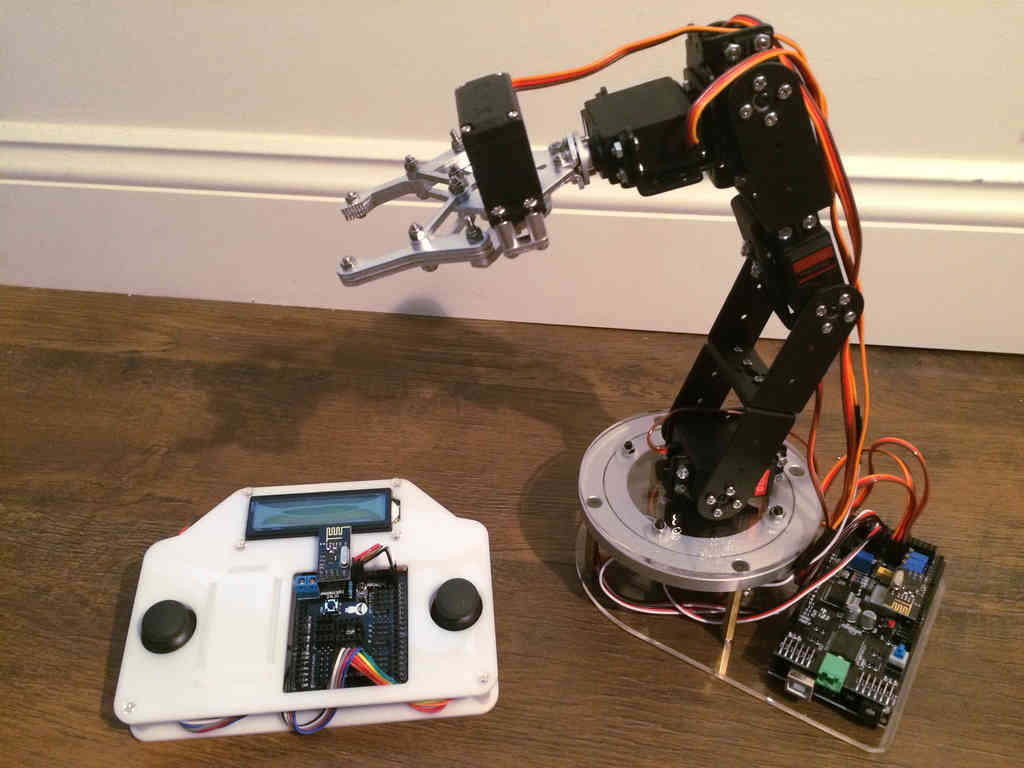
The robot arm is now successfully installed on the rotatable base! The arm can now nearly reach all the way out without falling over. I think this arm is now a show worthy piece; perfect for any fireplace mantle.
Check out the next post where I cover the process of hooking up all of the electronics for the arm.