Run Fusion 360 in Ubuntu
Updated: Nov 6, 2017
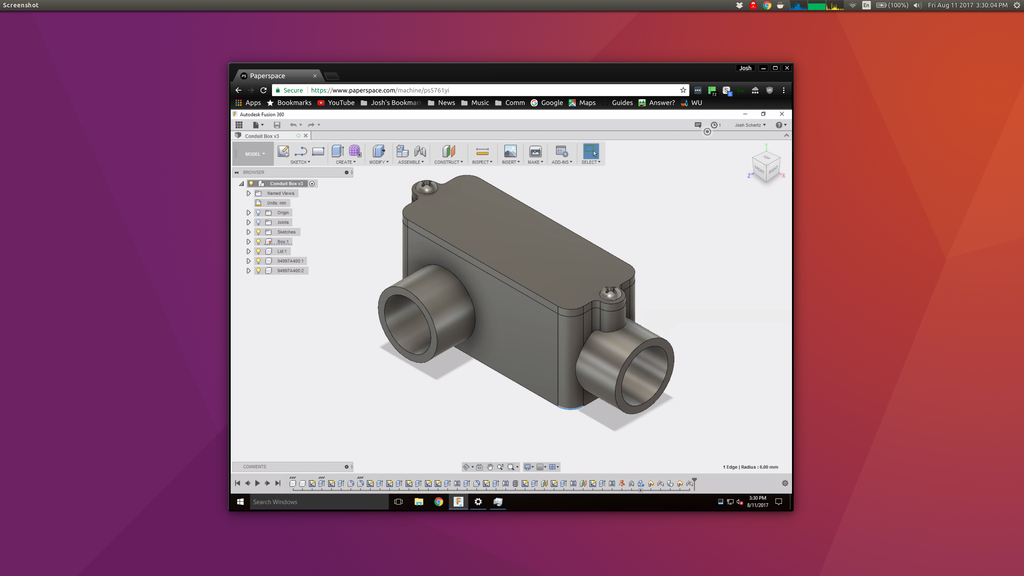
tldr: Autodesk doesn't make a Linux version of their Fusion 360 software, but you can run it within a Windows based VM (like Paperspace) or in the browser. Currently, the browser based Fusion only offers limited functionality, thus I use (and recommend) a Windows based VM, with Paperspace offering an easy and affordable remote VM.
3D CAD systems can help you visualize and build any component or system. Autodesk's Fusion 360 is one of the most popular CAD systems. In total, it's a cloud based 3D CAD, CAM, and CAE tool. Fusion 360 is great because you can design, test and fabricate a component within it, while syncing your progress on the cloud, allowing you to work anywhere and collaborate with others. Autodesk even offers a free license to students, startups and enthusiasts.
However, Fusion 360 only works on Windows and Mac, meaning any Linux user is left high and dry. The two solutions include using Fusion 360 within the browser, or using a virtual Windows desktop. The browser option would be perfect, but it has limited functionality (and assumes the computer is powerful enough to run it). My preferred solution is to rent a virtual Windows desktop. In addition to getting access to very powerful hardware, you only pay for the time that you use the system for.
There are multiple vendors offering virtual Windows desktops, however, few offer a system backed by dedicated GPUs. Dedicated GPUs give the system much more power for designing and processing sophisticated models and simulations, along with speeding up the training of machine learning models. Paperspace is a front runner for providing cost effective GPU backed virtual desktops.
In this post I will outline the benefits of using Paperspace, along with the steps required to get Fusion 360 working in a virtualized GPU desktop.
Virtual Desktops
It is cheap to rent a remote server from Amazon, Google or Azure, however, their GPU based virtual desktops are very limited and expensive. Paperspace on the other hand offers a wide spectrum of GPU based virtual desktops at cost efficient prices. Paperspace's basic desktops use shared GPUs, and their more powerful systems include dedicated GPUs.
GPU based virtual desktops are perfect for machine learning, heavy workstation applications (CAD, 3D design, VFX, etc.), and even gaming. This is very exciting because it means you can use a low powered laptop to access a very powerful computer from any location in the world (albeit you still want to be physically close to the data center to reduce latency). You can now quickly and cheaply work on projects that require powerful hardware without spending time and money building and maintaining a powerful system.
Paperspace allows you to connect to the remote machines via a web browser or local application (Windows and Mac). Using a web browser is great because you can connect to the virtual desktop while running Windows, Mac or Linux without having to download anything.
Paperspace has many other neat features, including multiple monitor support, drag and drop functionality (between local and virtual desktops), shared drives, snapshots and public IPs. Do note that the later two are an extra cost per month.
System Setup
To get started, the first step is to create an account with Paperspace. You can sign up here, where you will get a $10 credit (I will earn a $15 credit once you spend more than $25). Next we can create a new machine!
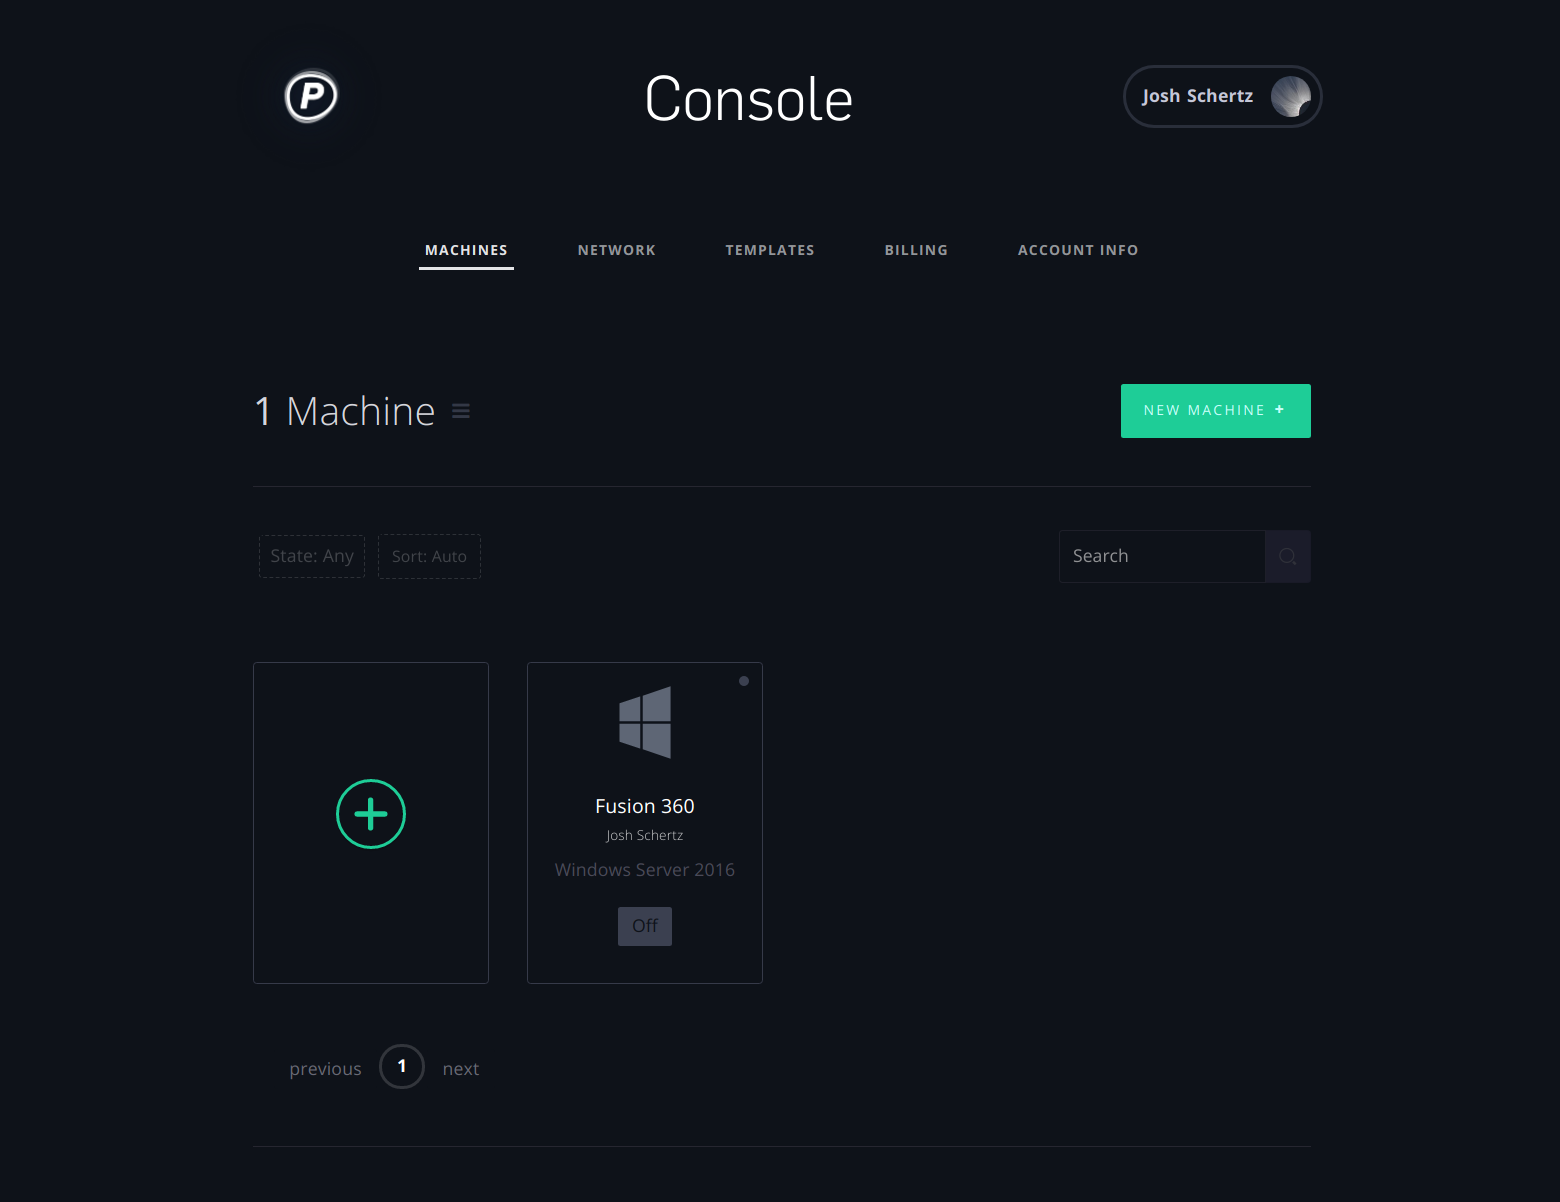
Starting from the Paperspace homepage, click on Launch Console in the top right. The console is where you will create, access and edit machines, along with getting access to your billing and account information. Within the console, navigate to the Machine section, and click on New Machine.
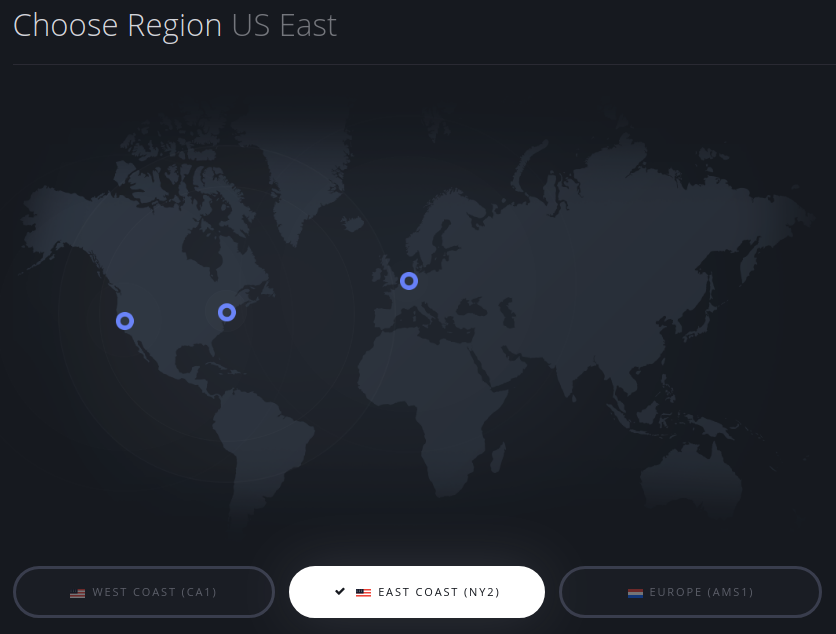
When creating a new machine, the first option is to specify the region where the machine should be located. Paperspace now offers 3 locations, with one on each US coast, and their recently opened Amsterdam location. Since I am near New York right now, I am selected the East Coast location.
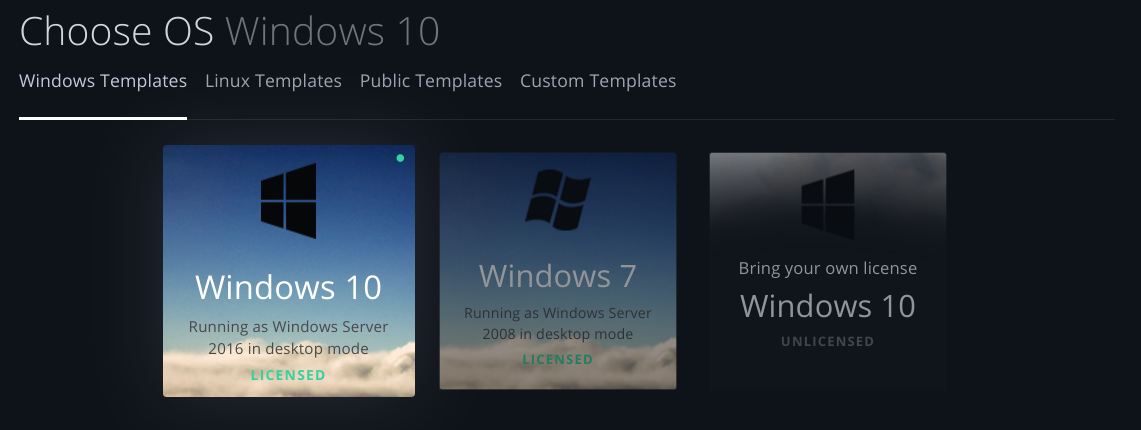
Next we can choose the operating system for our machine. You will notice that we can select either Windows 7 or 10, or Linux Ubuntu 14.04 or 16.04. However, none of the Linux template machines offer a virtual desktop right now (as of Aug 2017); they only provide access via SSH. Since Fusion works in Windows, we will select the Windows 10 template.
Now the fun part of selecting which machine we want to run. We have multiple options, including systems with a shared GPU and systems with dedicated GPUs. For most CAD work, a system with a shared GPU will be sufficient. I am using the Advanced system that includes 6 CPU cores, 16GB of RAM, and a K160Q Nvidia GPU (2GB VRAM), for $0.18 per hour. If you realize your system isn't powerful enough, you can upgrade the system at a later date.
Also select how you want the machine to be billed. The two options are billed hourly or monthly. You can save almost 50% by selecting monthly, however, for our use case right now, I think it makes better financial sense to select hourly and just shutdown the machine when you are not using it. If you know you are going to be running long simulations or ML training sessions on the machine, then maybe selecting monthly would be better.
NOTE: When you shutdown the machine, all of your settings and files are saved in an attached storage node. Thus you don't have to worry about losing files when you shut down the machine. The storage node can be deleted when you terminate the machine.
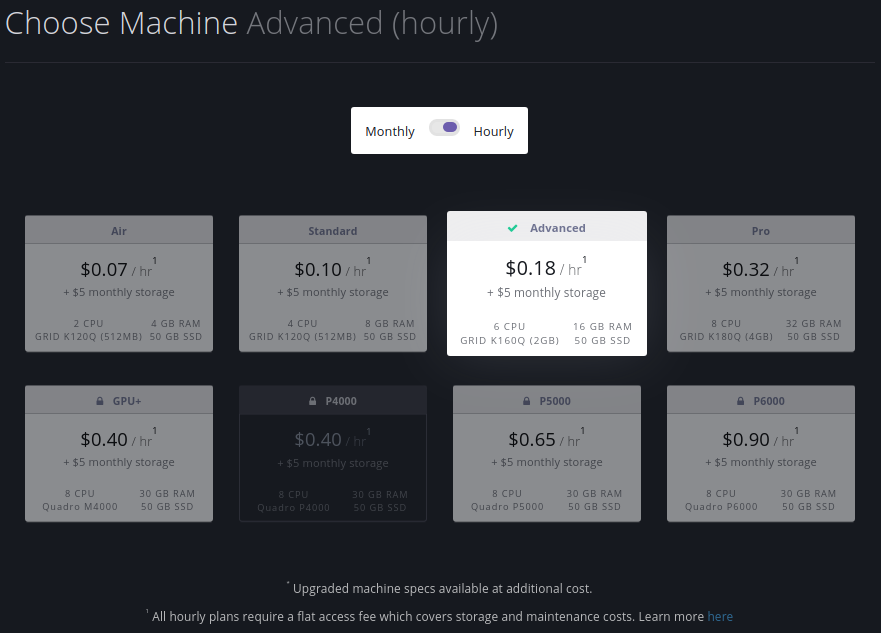
The default storage option of 50 GB should be enough for us. Paperspace charges a monthly fee for storage, even when you are paying for the machine hourly. This allows you to shutdown the machine while still having your machine's image safely stored, and able to be booted up again in the future. You can expand the system's storage at a later date, too.

You can name this machine now. I'm going to call my machine Fusion 360.

The final two options include the auto snapshot feature and public IP. I deselected both because I don't want that functionality and want to save money (they both cost extra). The auto snapshot is useful for ensuring that you have a machine backup at specific time intervals.

Review the machine options you selected one final time and enter payment details (if you haven't already). If you clicked on my referral link above, you should see the $10 credit you received in the payment list on the right. Once you've verified everything, click Create Your Paperspace. The machine will be provisioned over the next few minutes.
Machine Settings
Before we get started with the machine, let's look at the machine settings by clicking on the machine's card on the Machines page in the console.
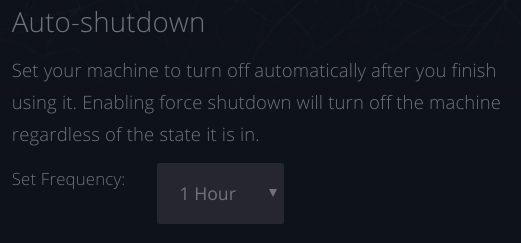
I think the most important feature to change is the Auto-shutdown setting. This will automatically turn off the machine after a specified amount of time of you not using it. I use 1 Hour for my machine. If you are running long term simulations or training sessions, you might want to extend or disable this feature.
Launching the Desktop
Launching the desktop is as easy as clicking Launch from the Machines page in the Paperspace console. Alternatively, you can launch the desktop from within the machine's setting page.
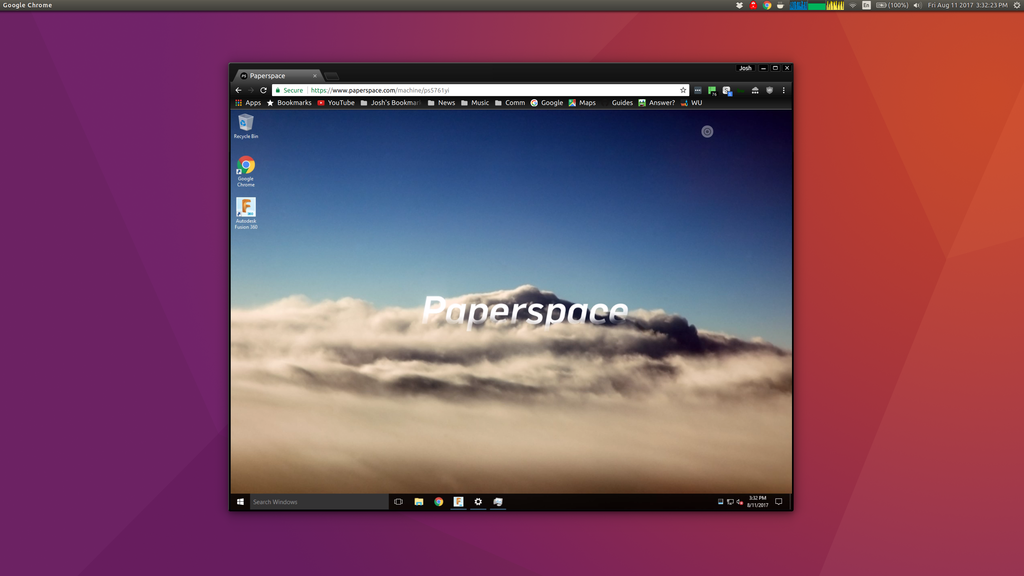
Once the desktop loads within your browser, you are ready to download Fusion 360 from Autodesk's website. When you log in, Fusion will sync all of the prior projects you've worked on. If you are an enthusiast, startup or student, don't forget to claim your free 1 year license (you'll have to re-claim the license yearly).
If you are new to Fusion 360, Lars Christensen makes some great tutorials on YouTube that you can watch. For a bit of fun, here are some tutorials for designing an Arduino Uno enclosure and a 3D printed lampshade.
Here is the model of a robot arm I created while running Fusion 360 in a Paperspace machine.
Now go design some amazing models!